Use the drop-down menu to filter by specific "Bulk Action Types" to organize your table.
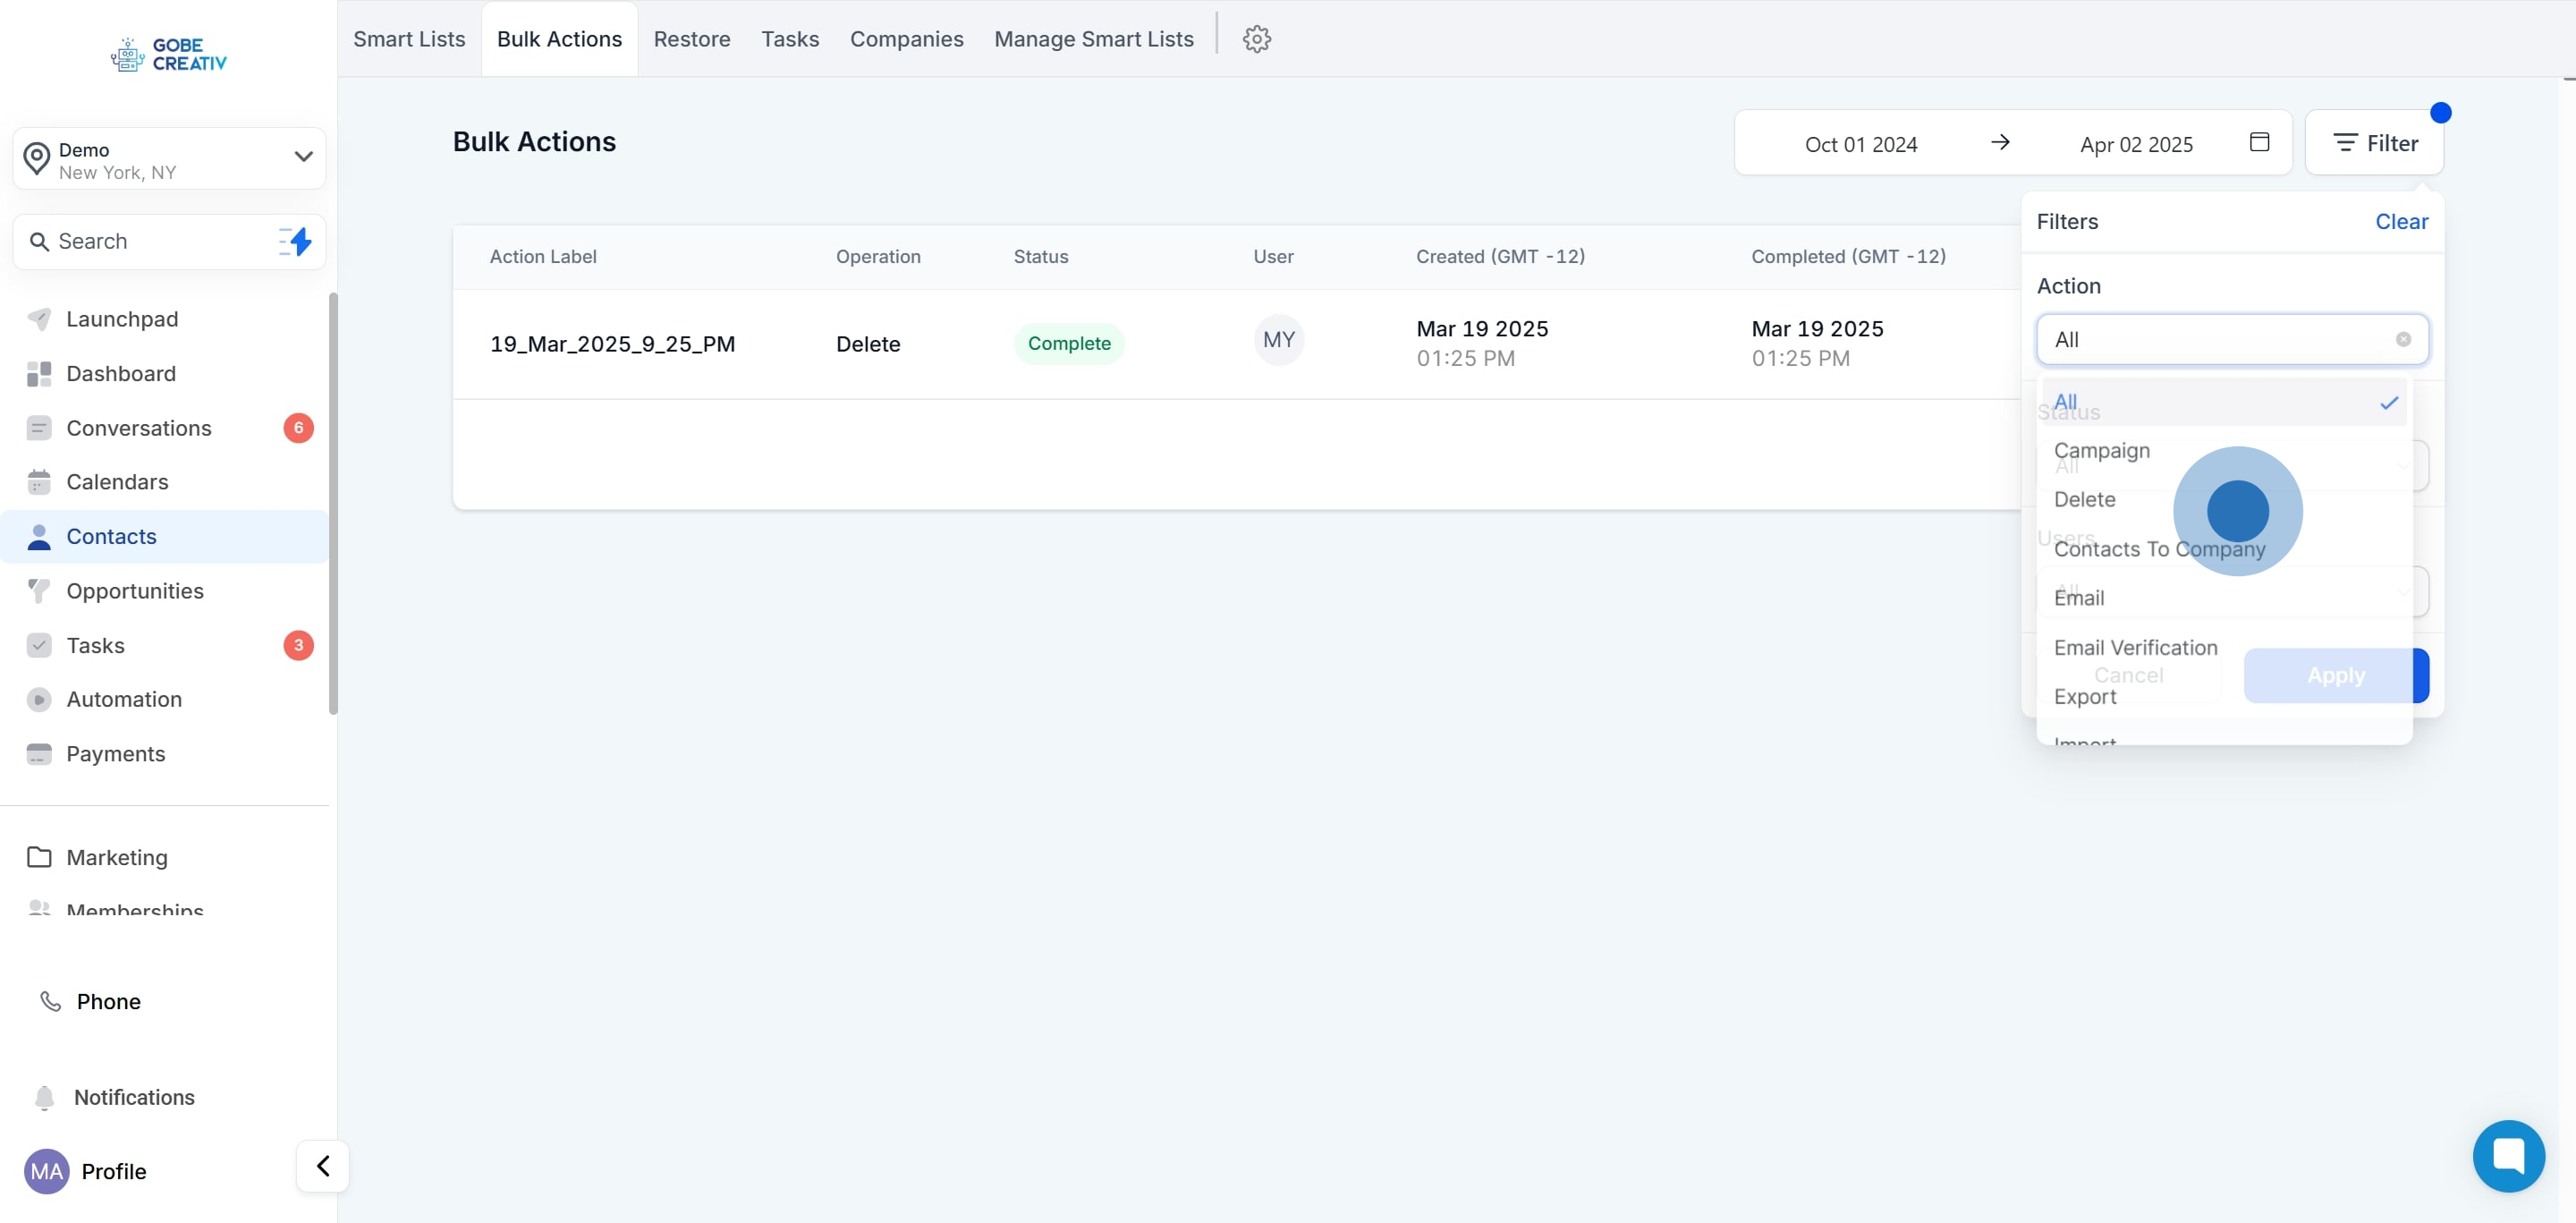
Use the "Filter By Status" drop-down tab to cycle between bulk actions in different stages of delivery.
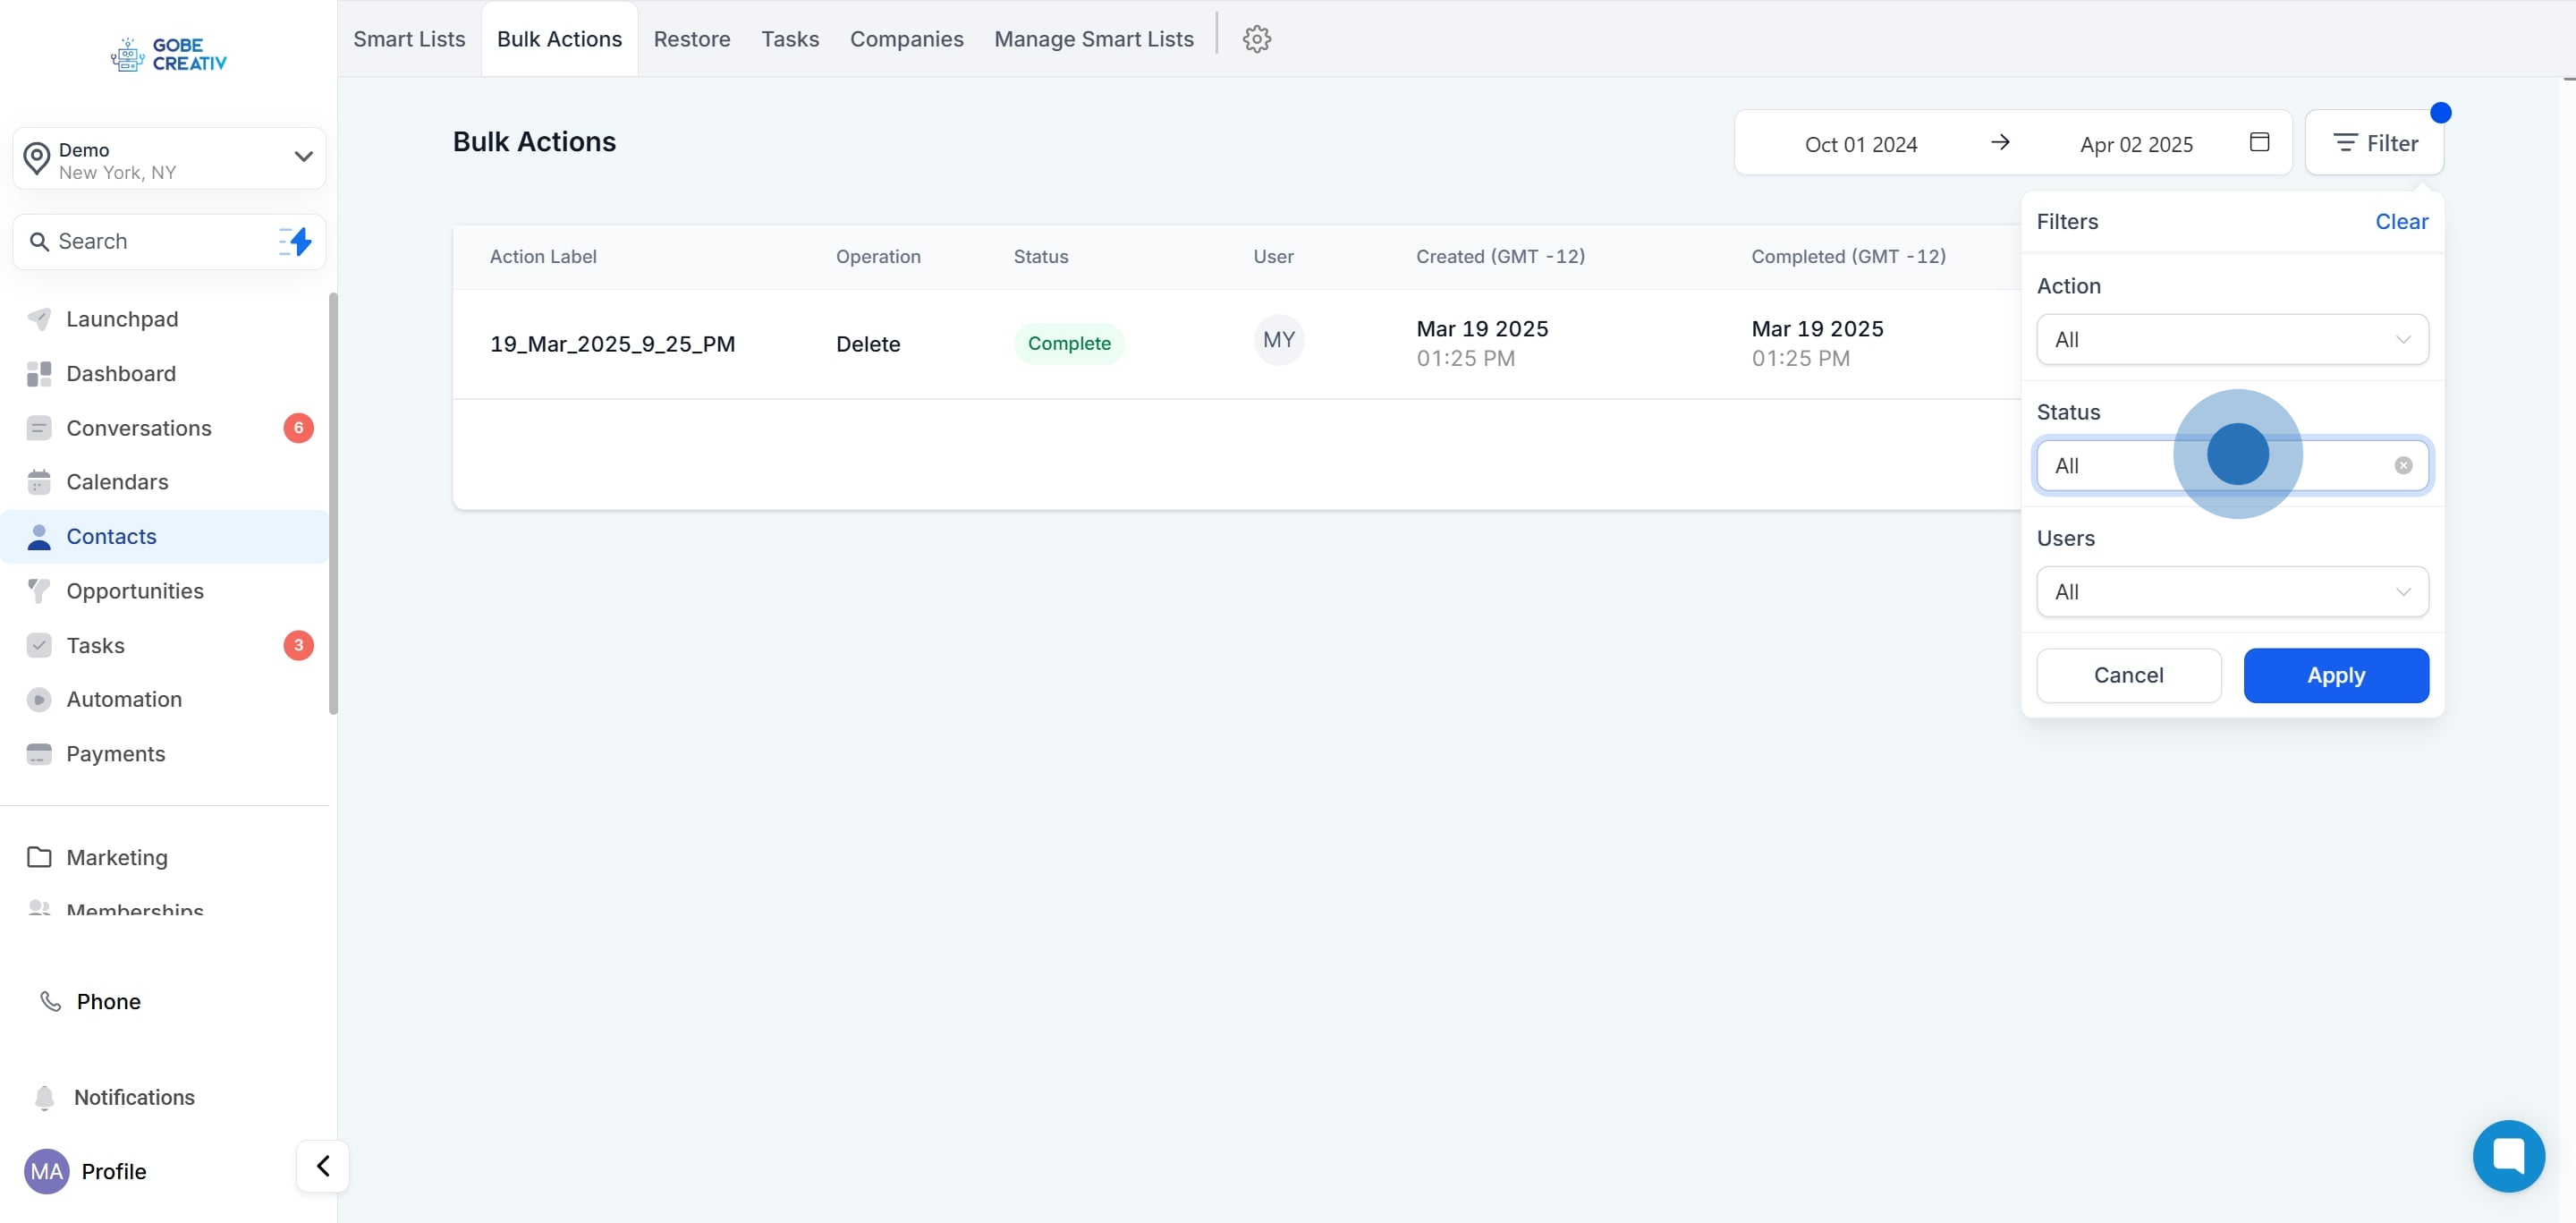
You can also filter by users who performed bulk actions during a specific date range.
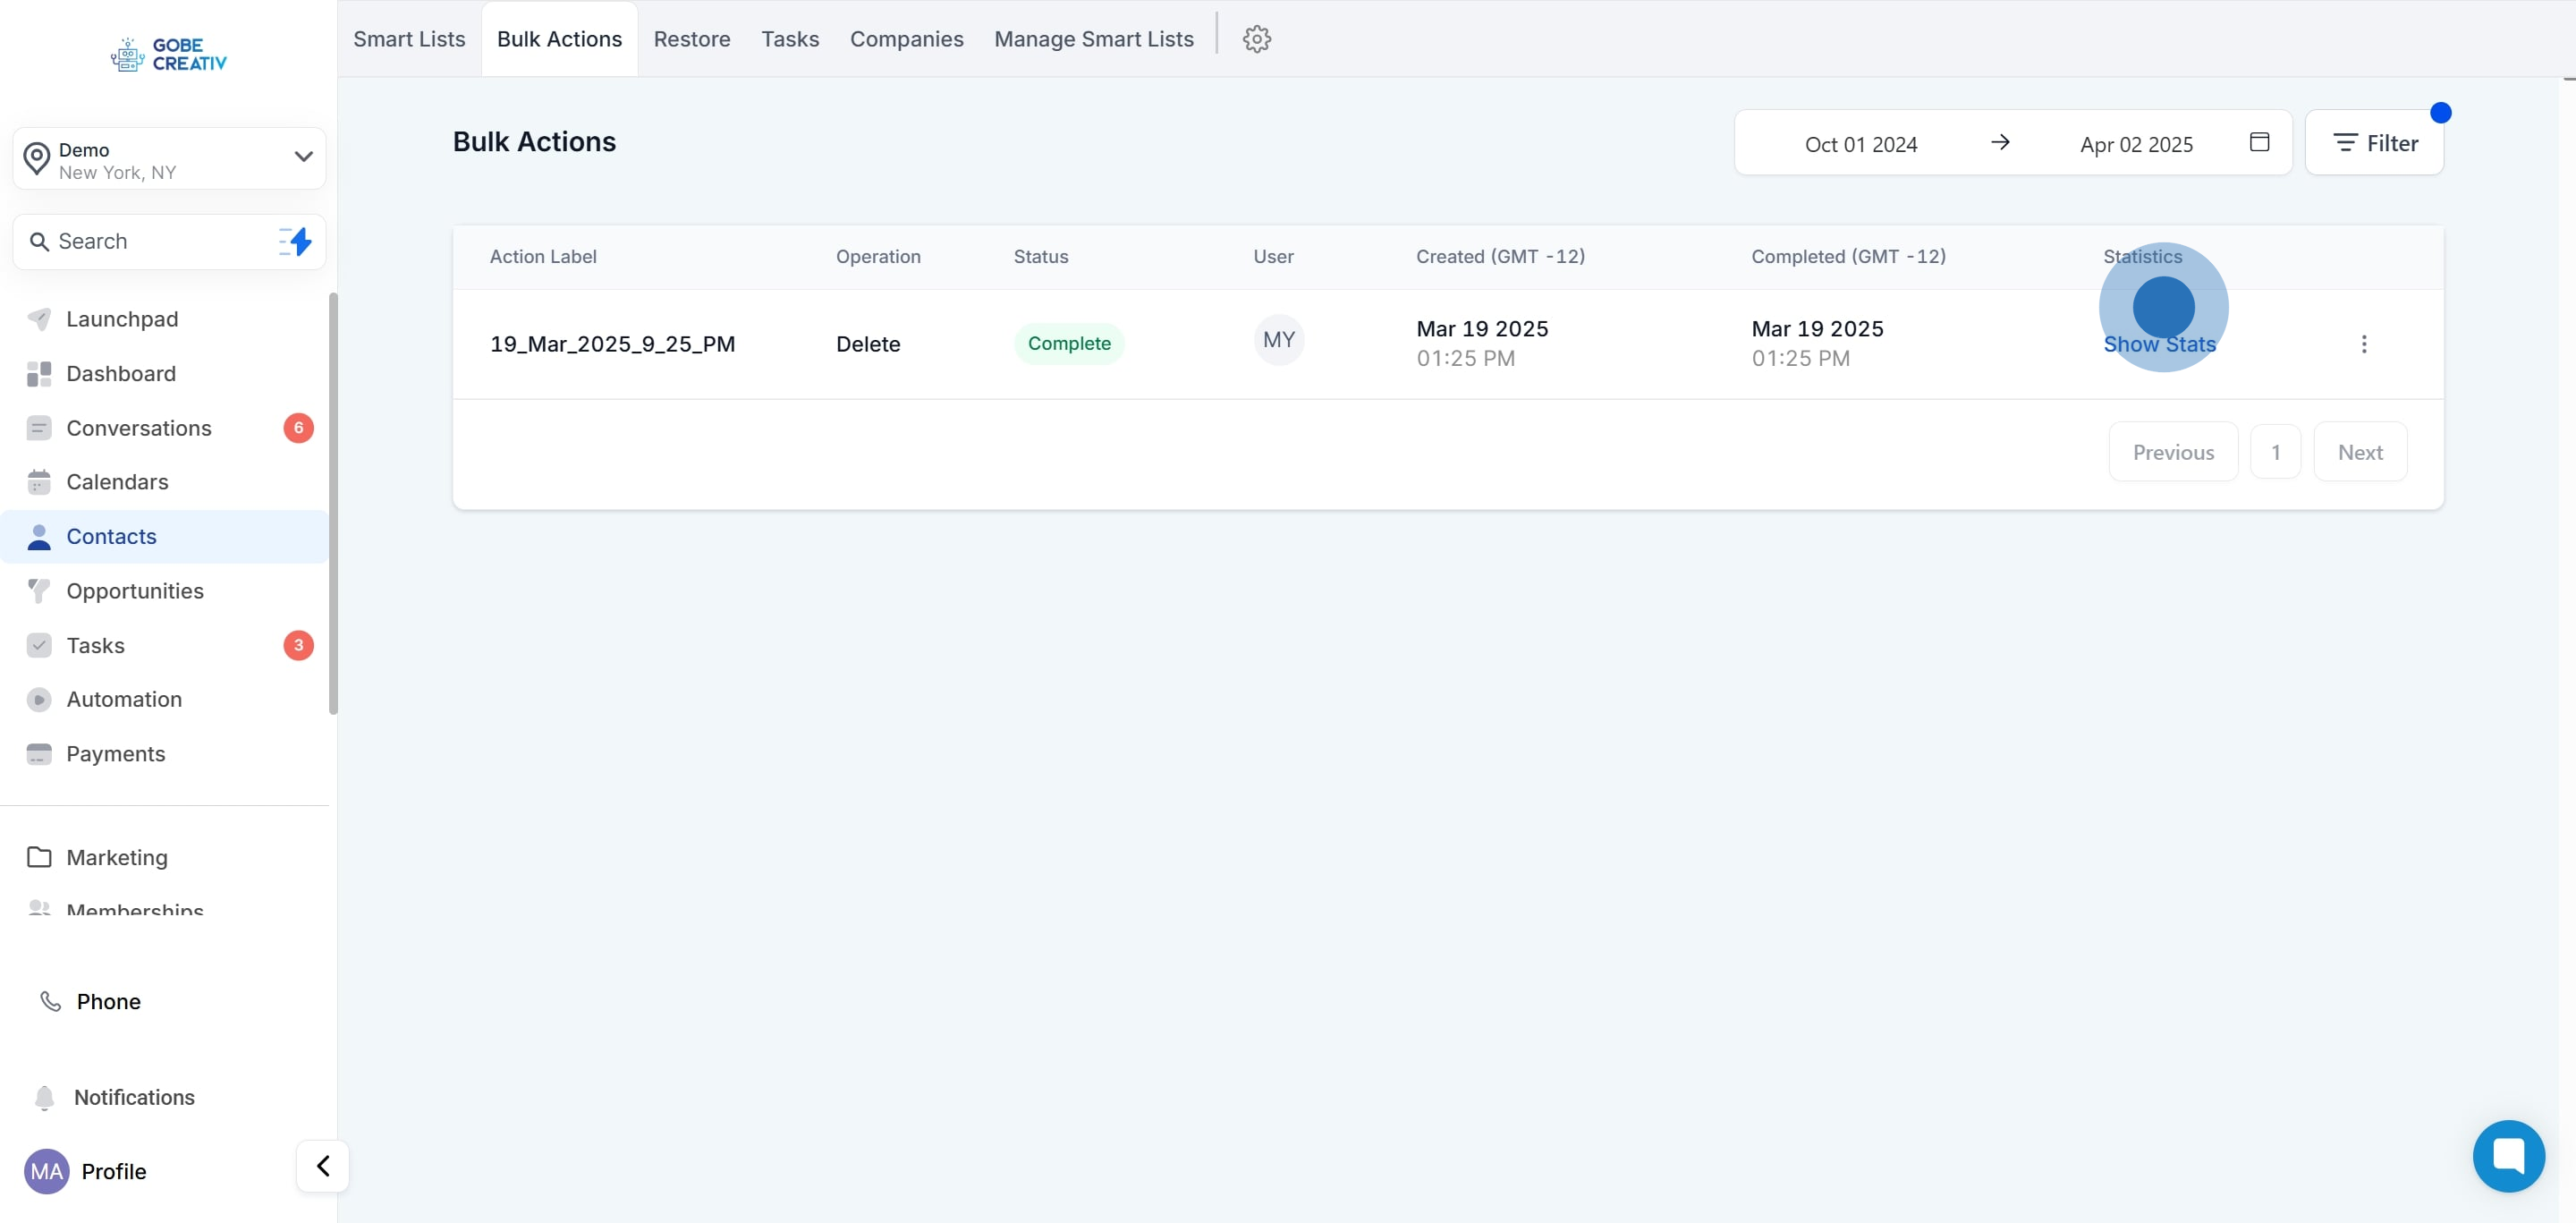
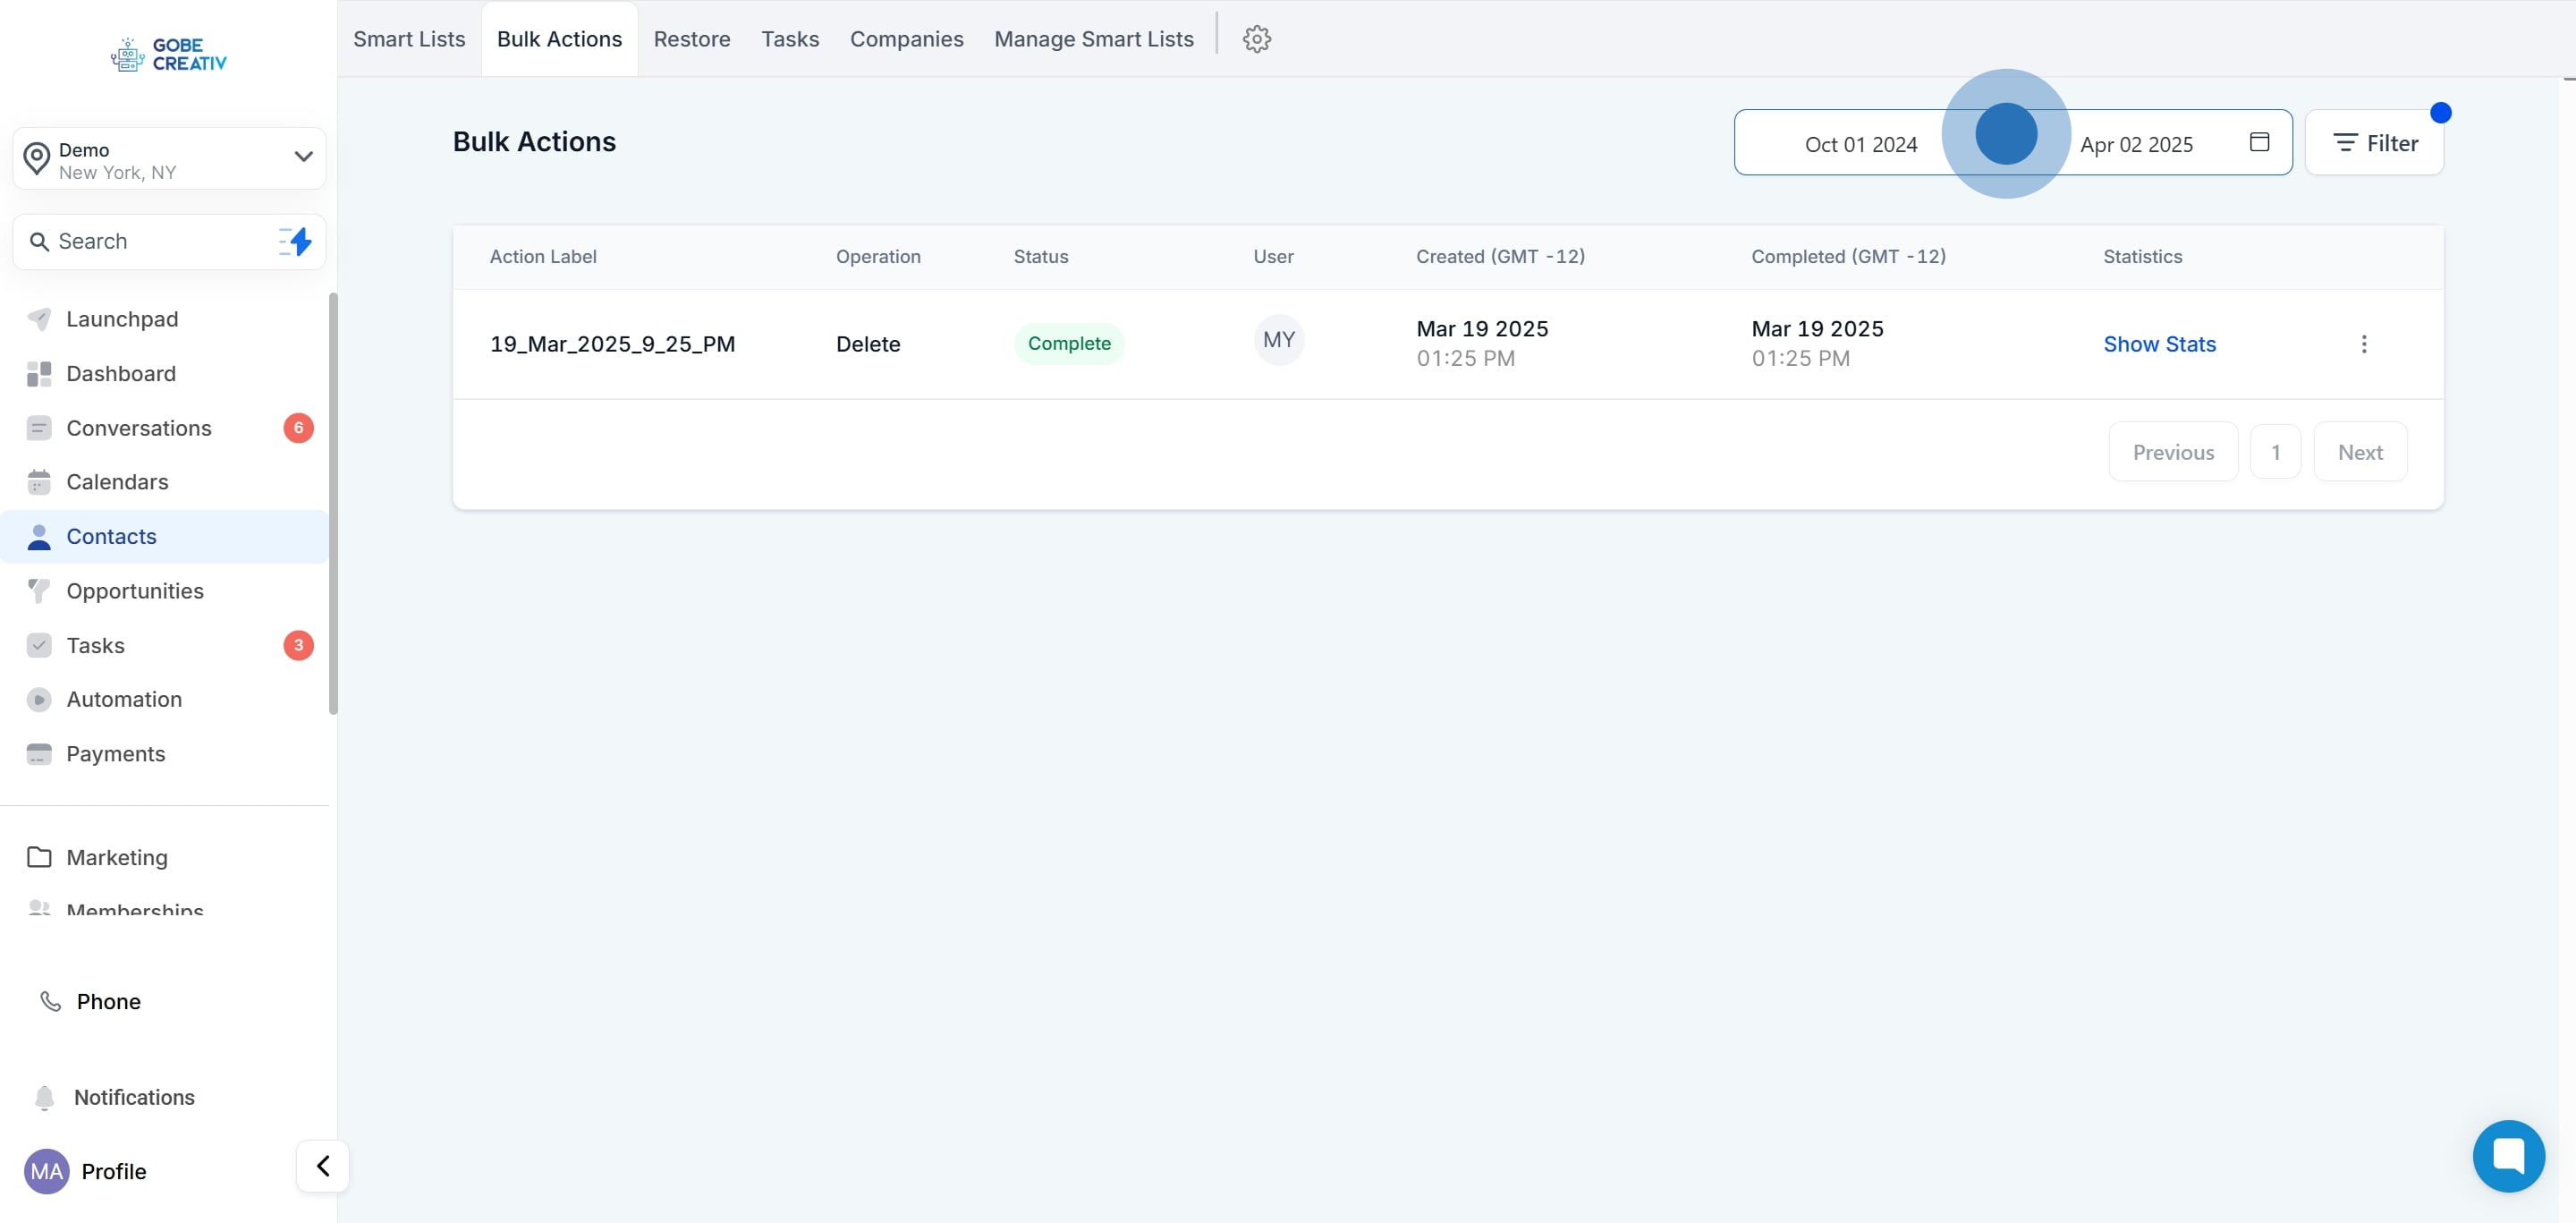
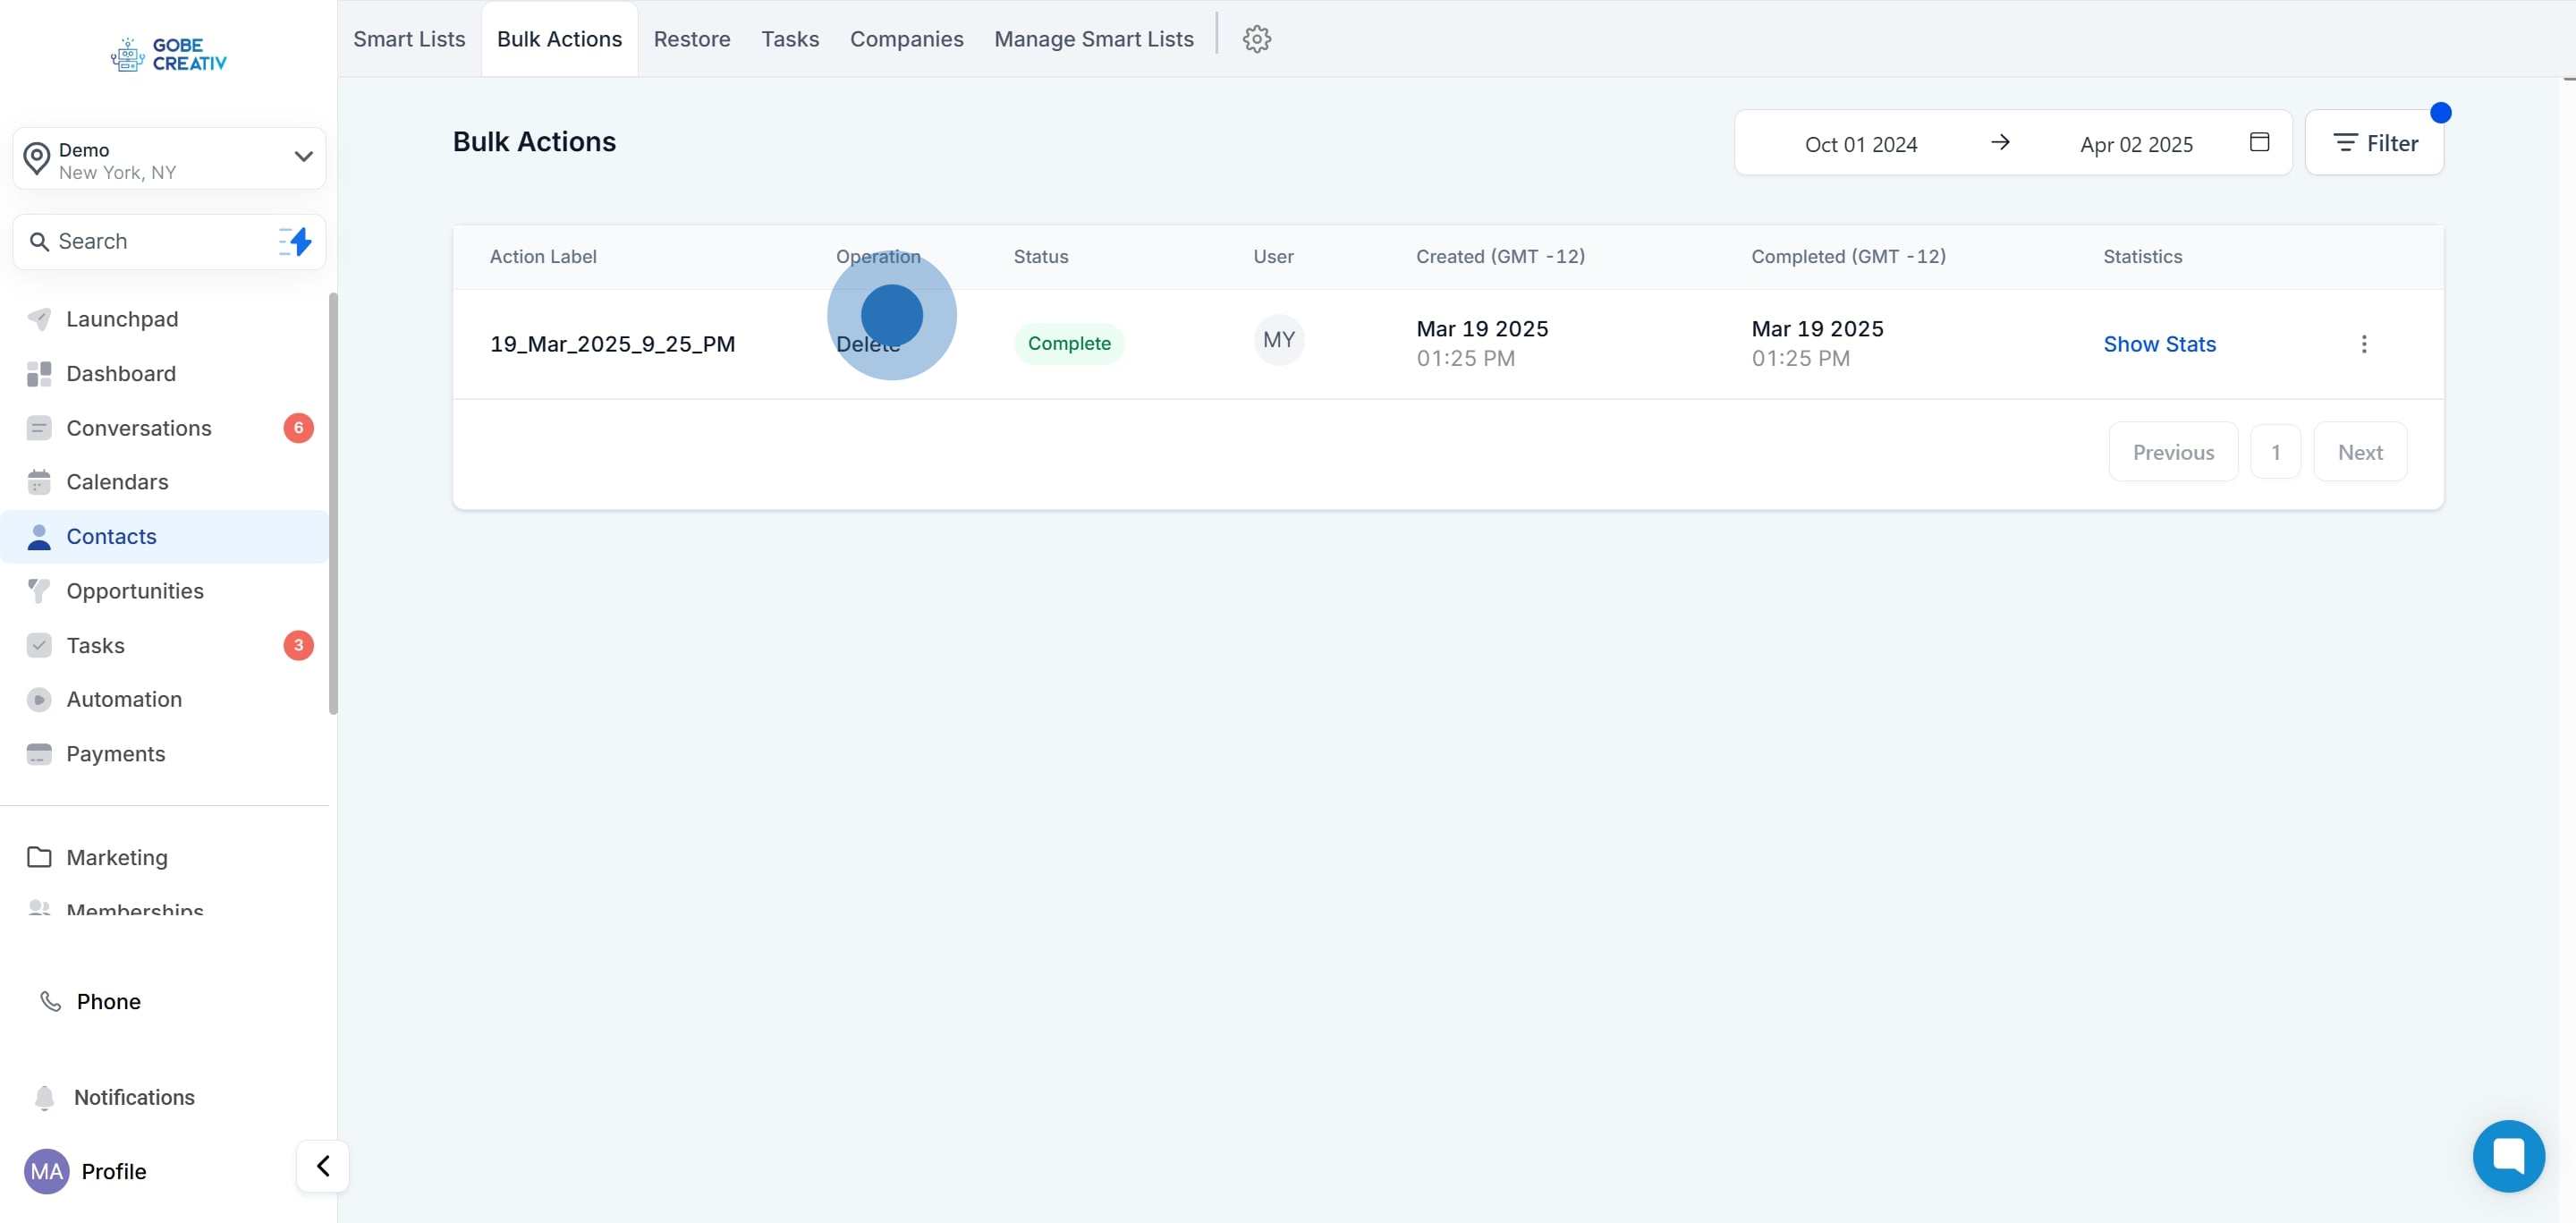
The user initiating the process is prompted to enter a description, which becomes the name of the bulk action.
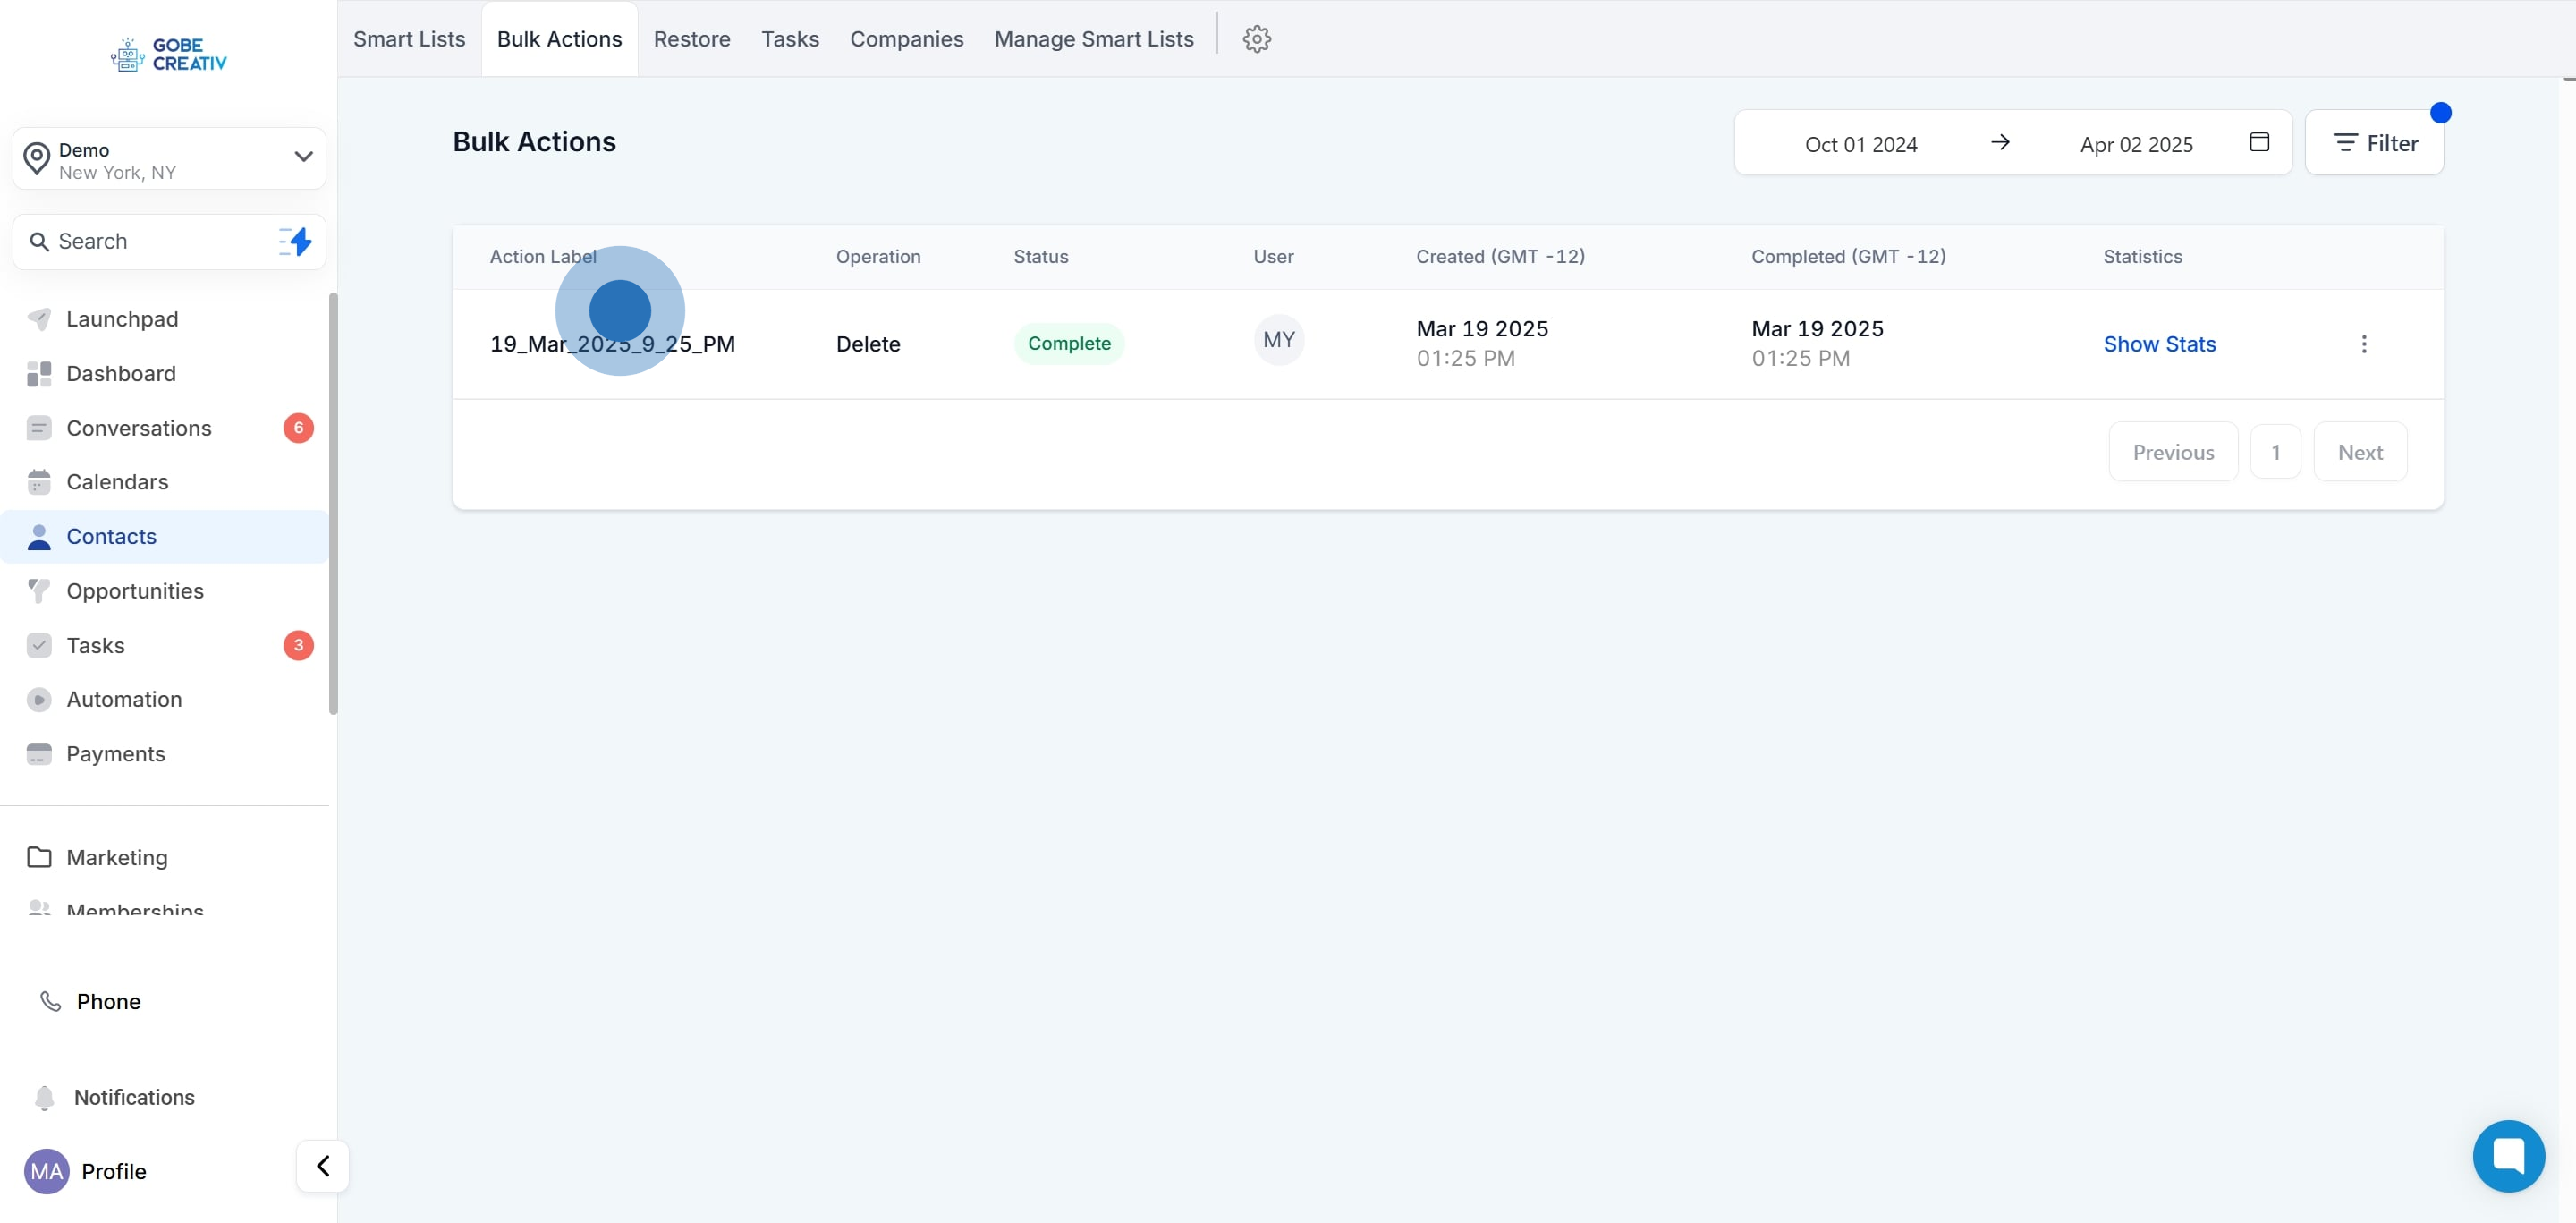
Within this column, you will observe the variety of bulk actions executed, which may include appending contacts to workflows or dispatching messages.
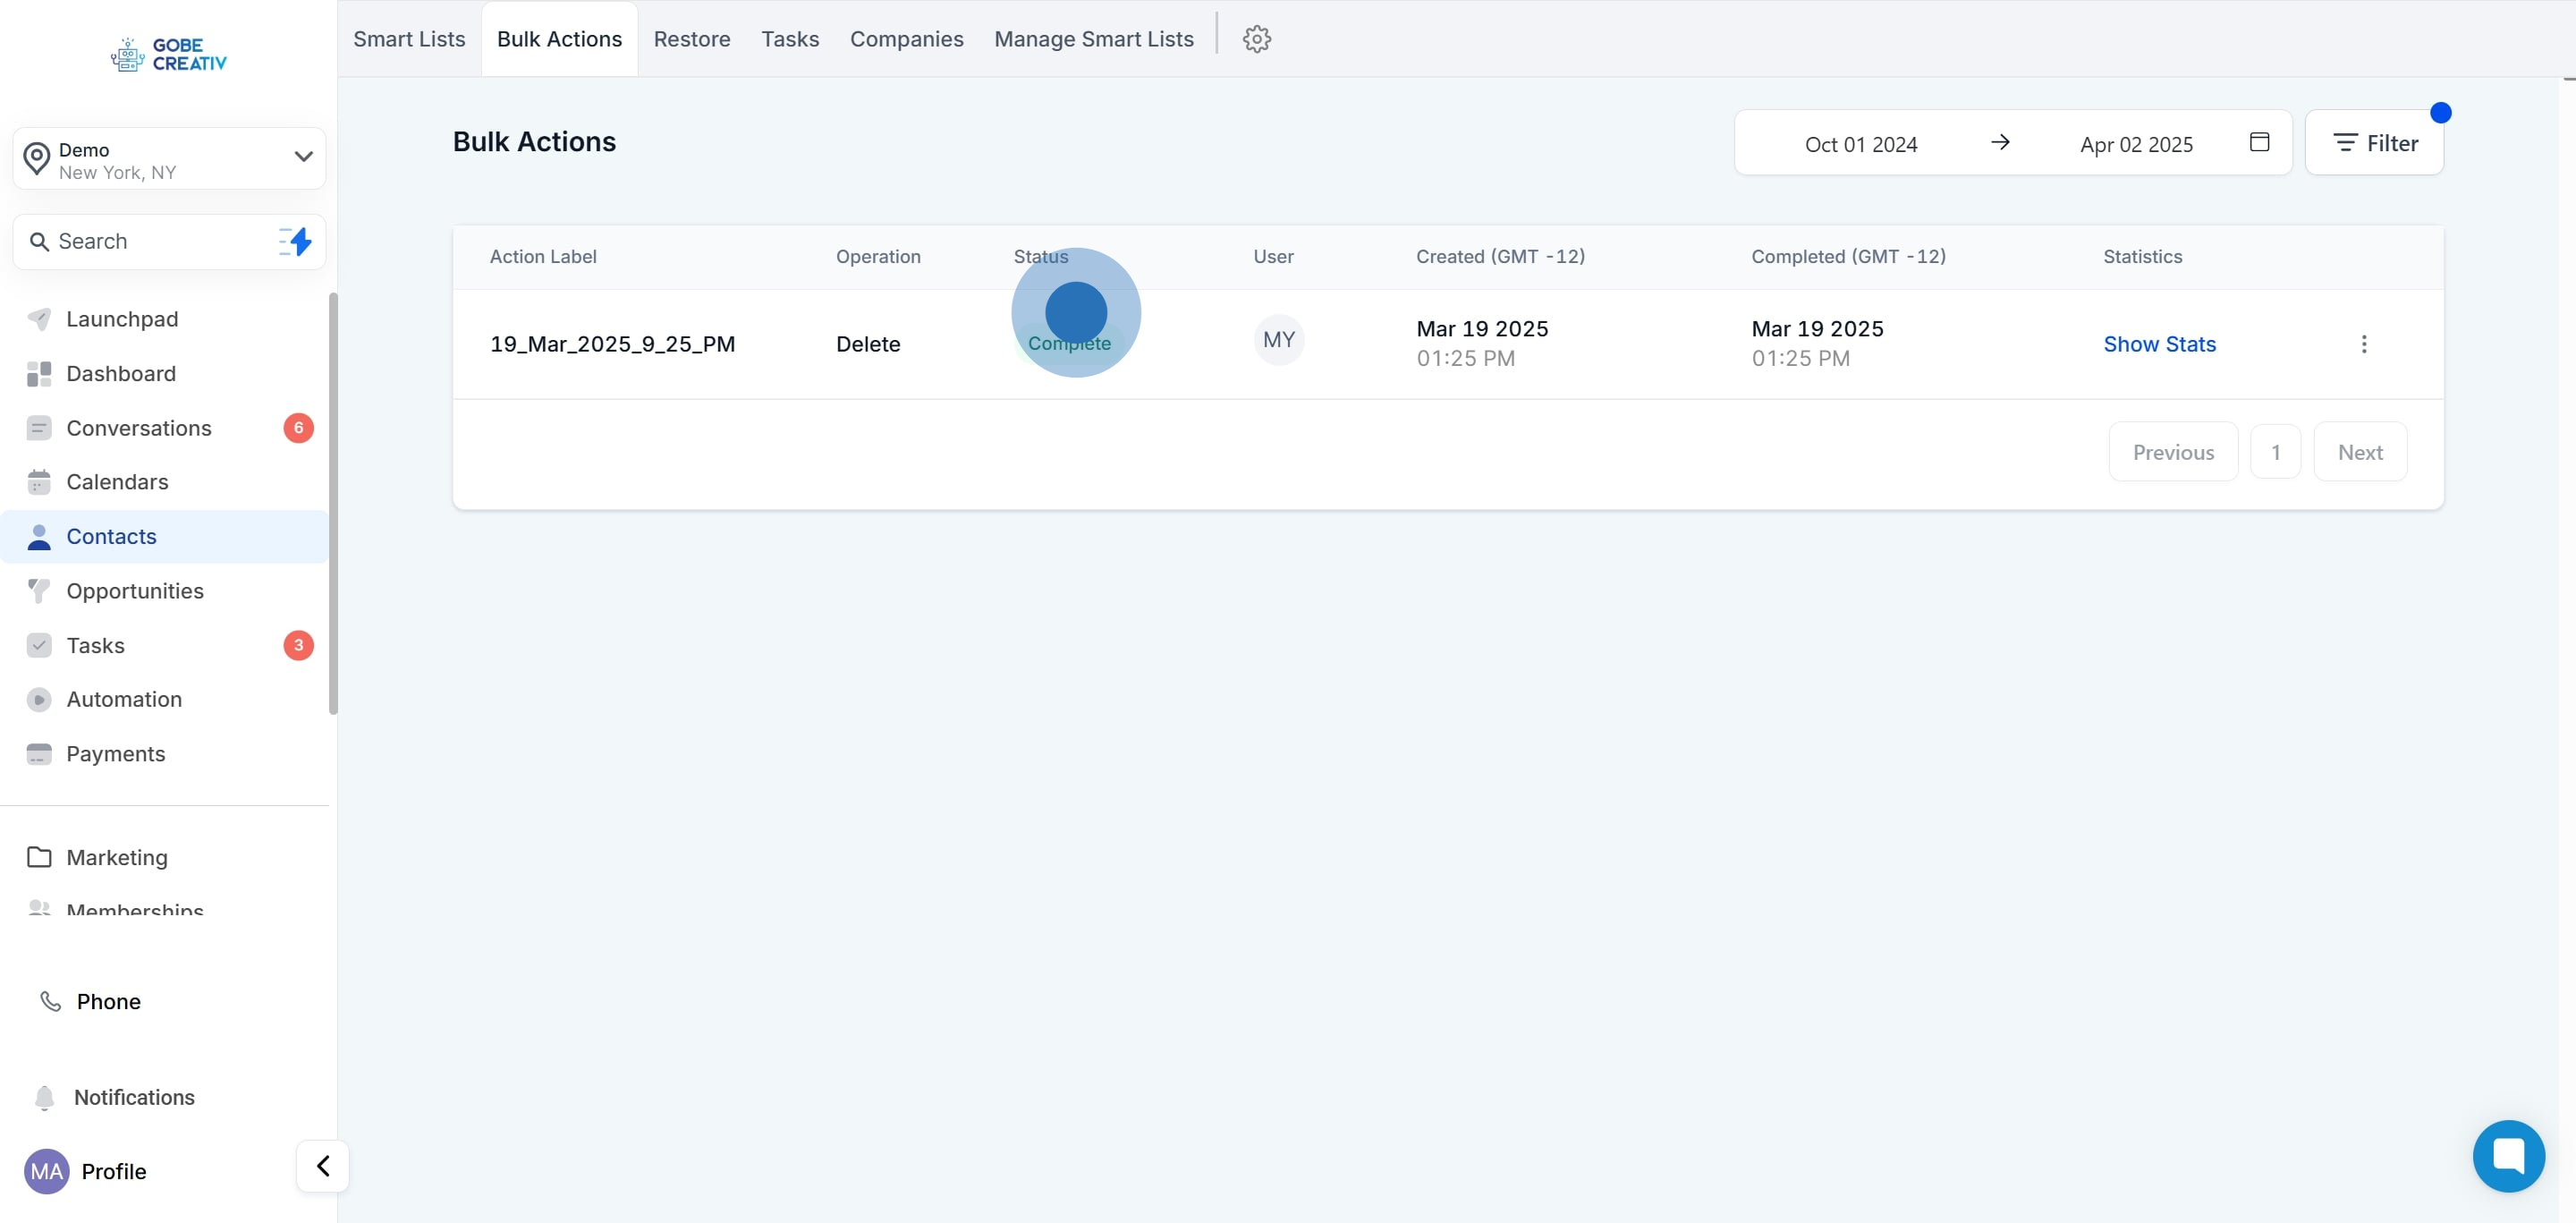
In the "Bulk Action Status" column, you can see the statuses of your bulk actions.
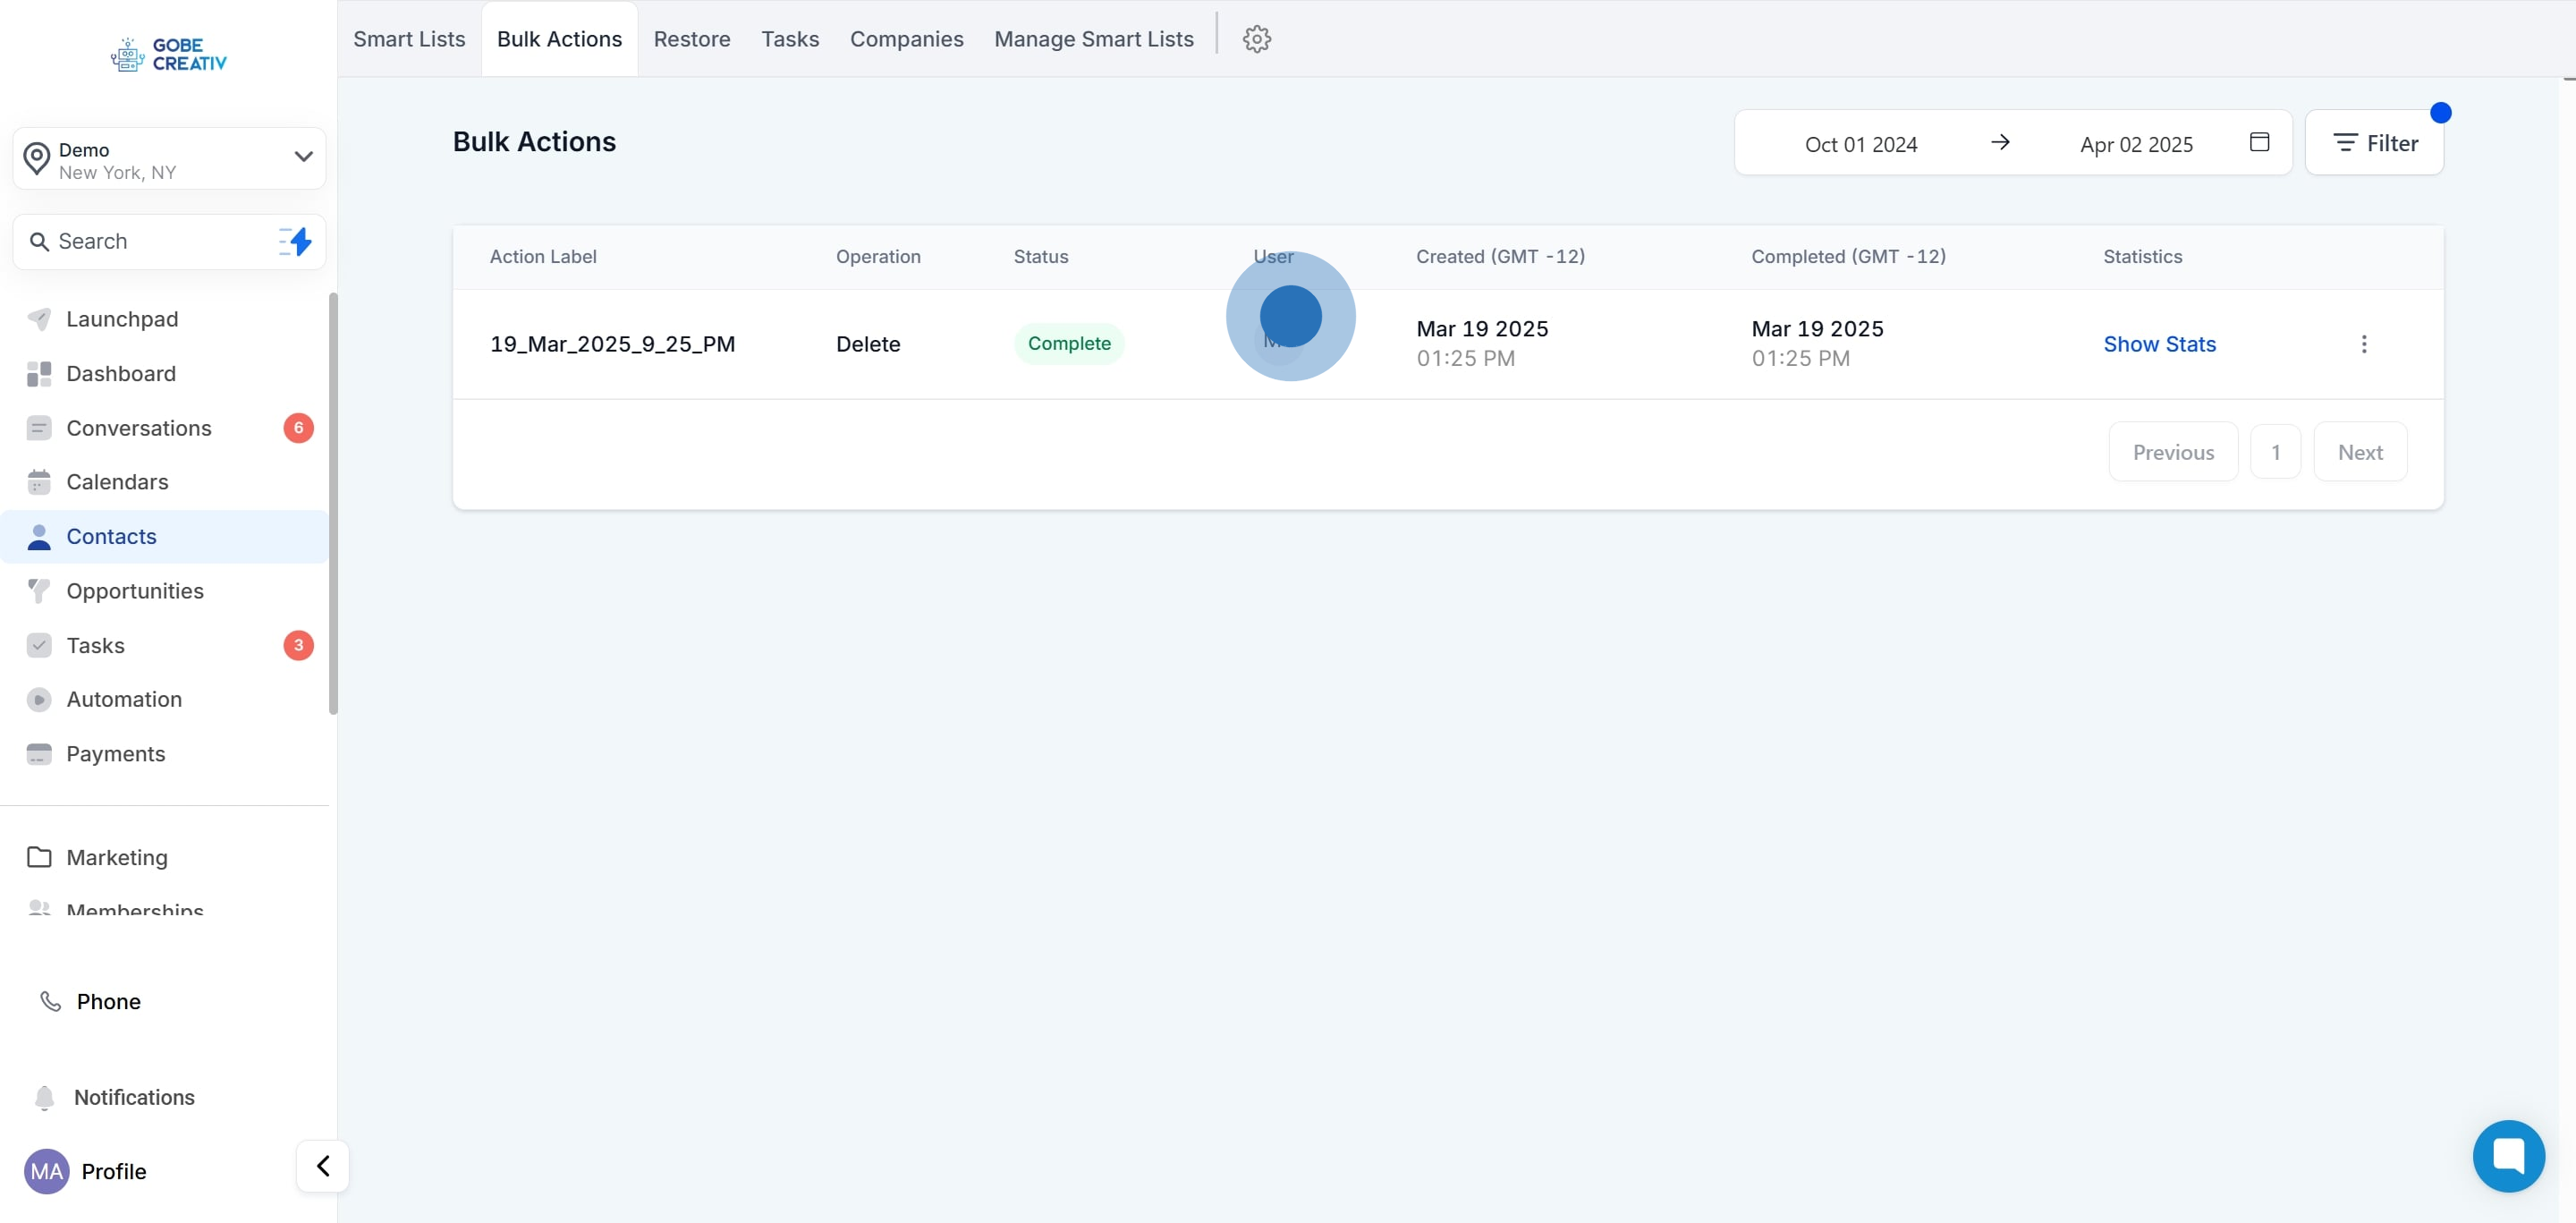
This specific column will inform you about the user from your CRM who scheduled the bulk action. This information can prove beneficial while supervising teams and delegating employee tasks.
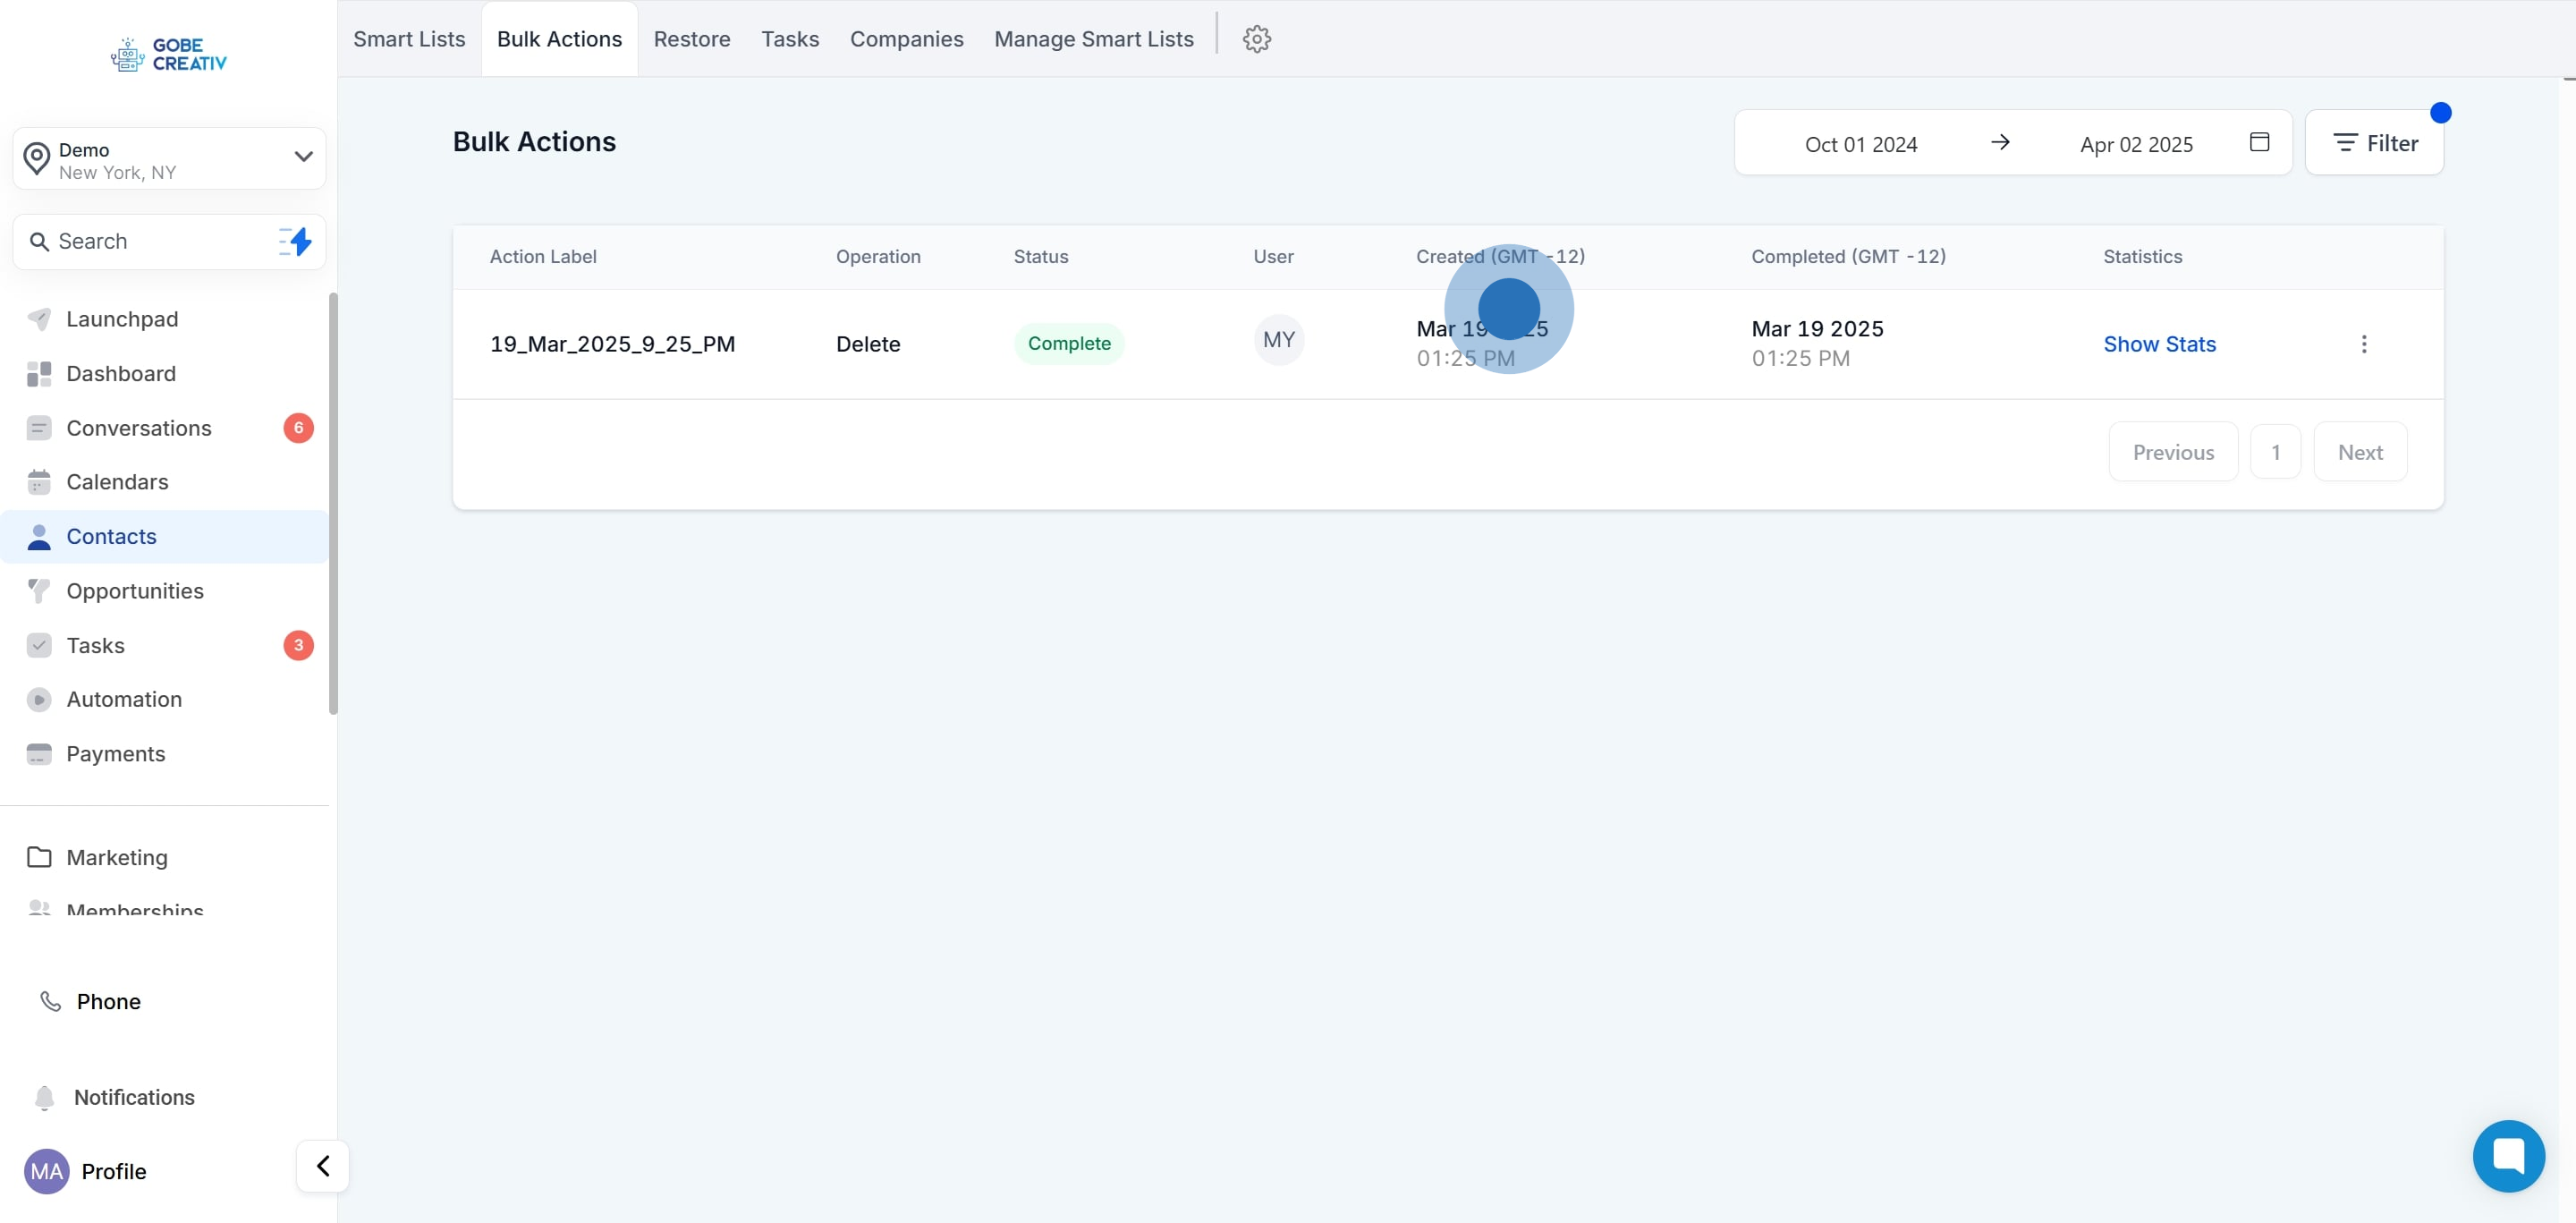
The following column displays the timestamp indicating the precise time and date of when the bulk action was initiated.
In this column, you can view the exact date and time of completion for your bulk action. This information will enable you to track the progress of your tasks more efficiently.

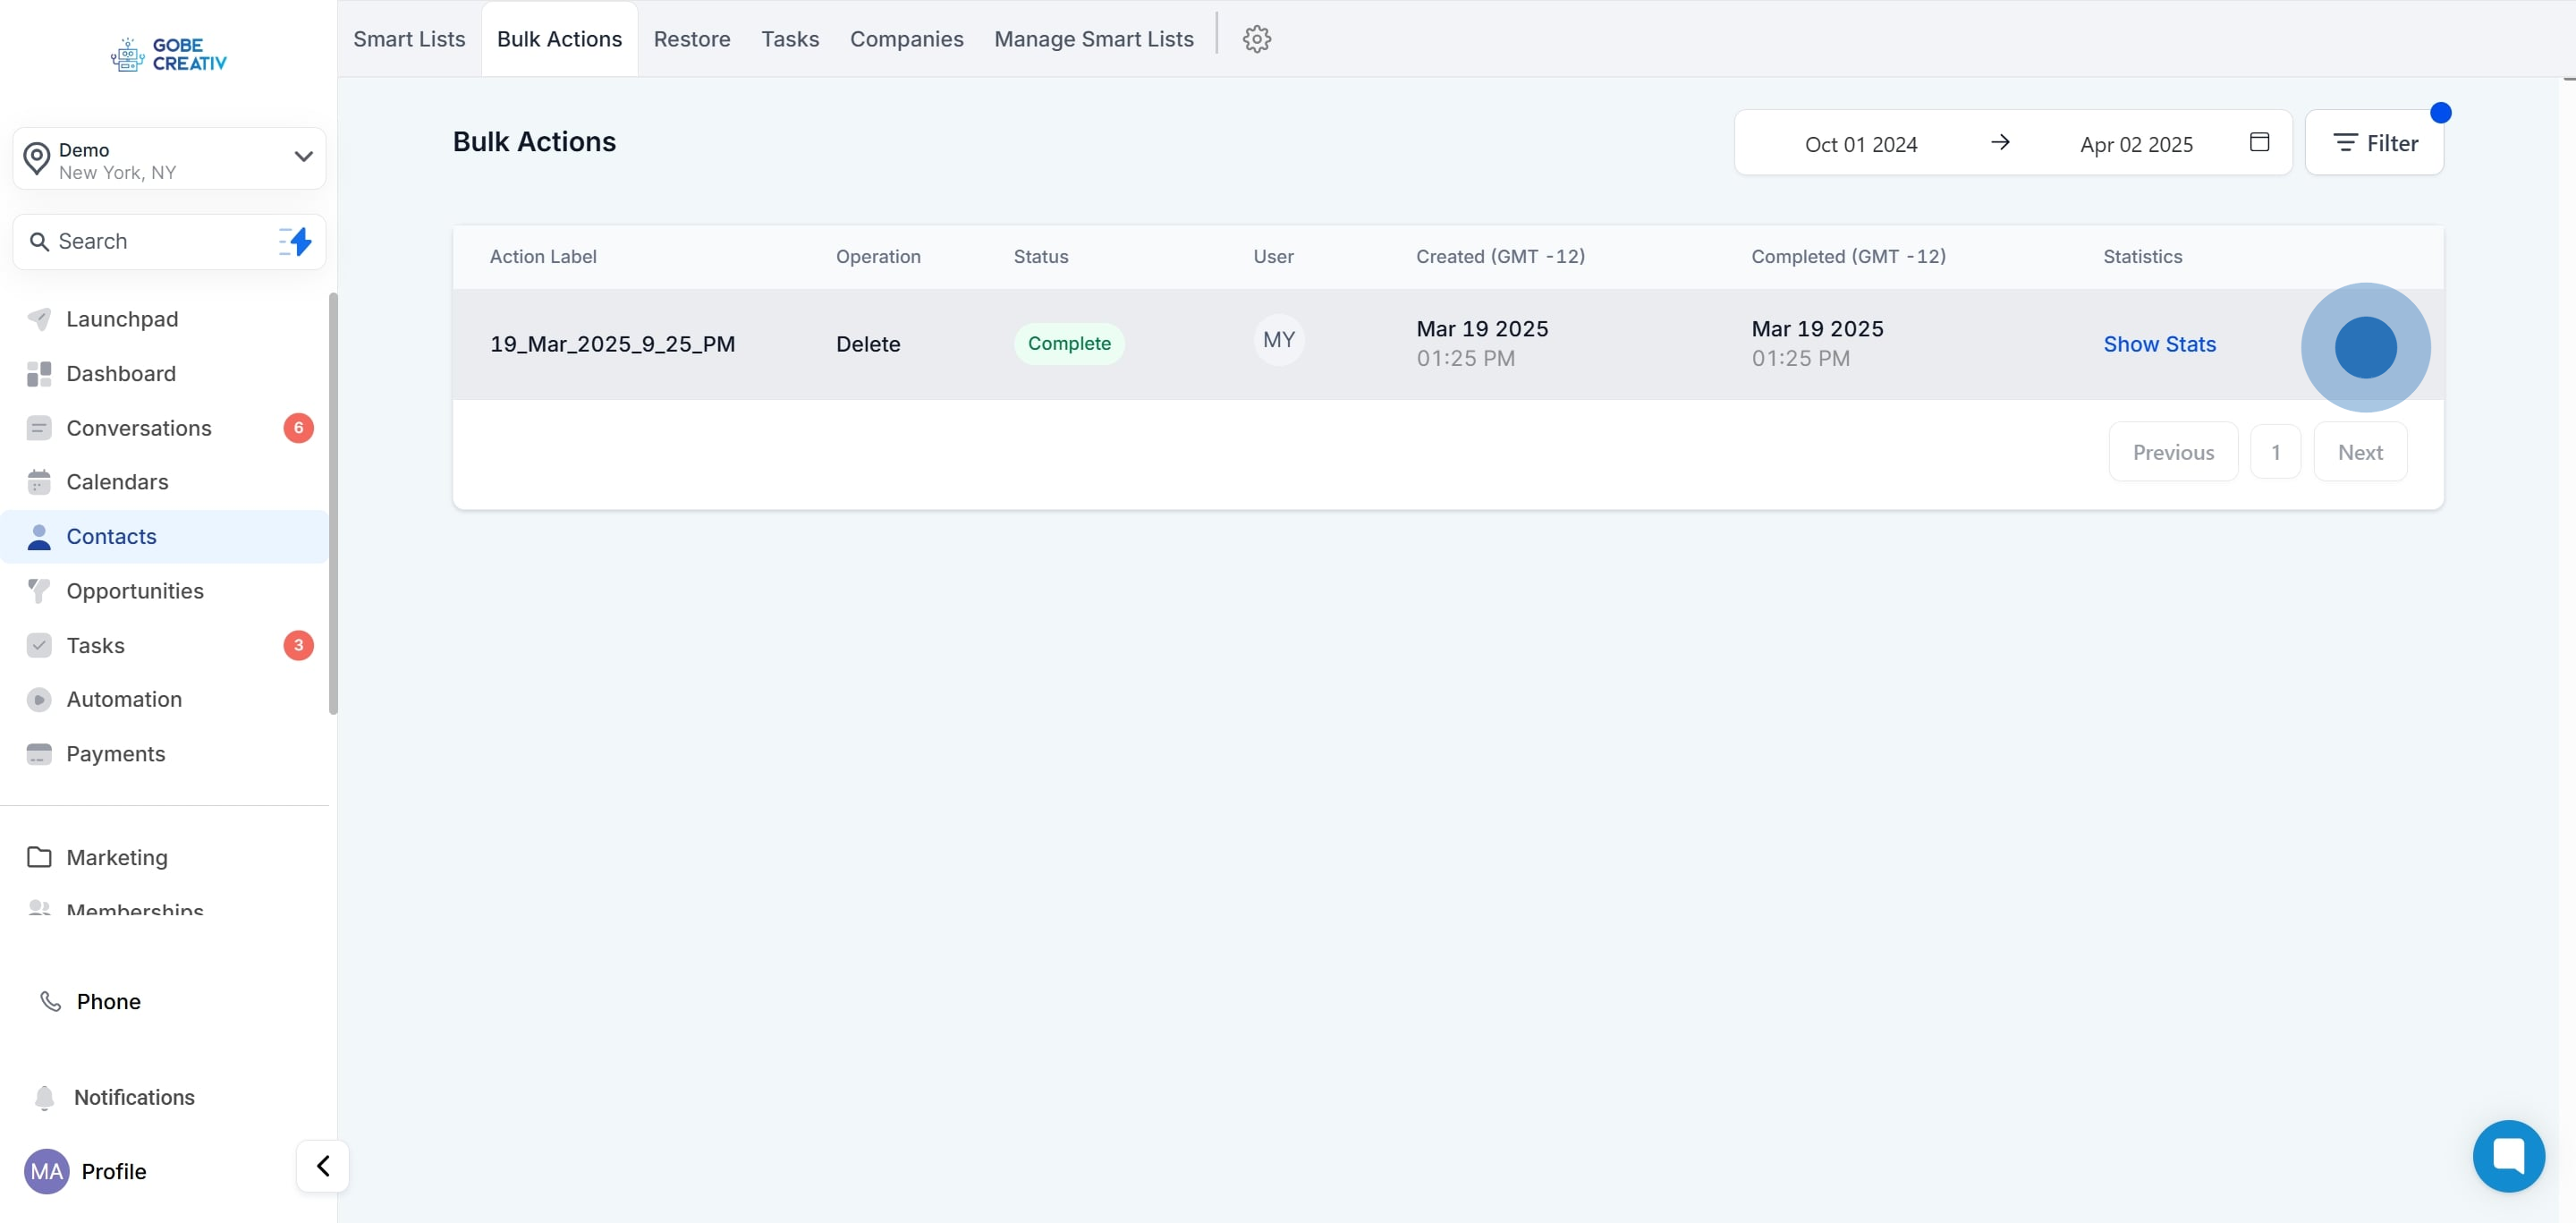
This column provides you with the feature to view statistics related to a particular bulk action. To access the data, you can click the "Show Stats" button within this column. Once you open the stats, you will have access to details such as open and click rates of your bulk actions.
When analyzing the data, you can even click on each data point to view the list of contacts included in each category, whether it's "successful" or "error".