This article provides a quick guide on how to add custom columns to your Contacts table, helping you view and manage key information more efficiently.
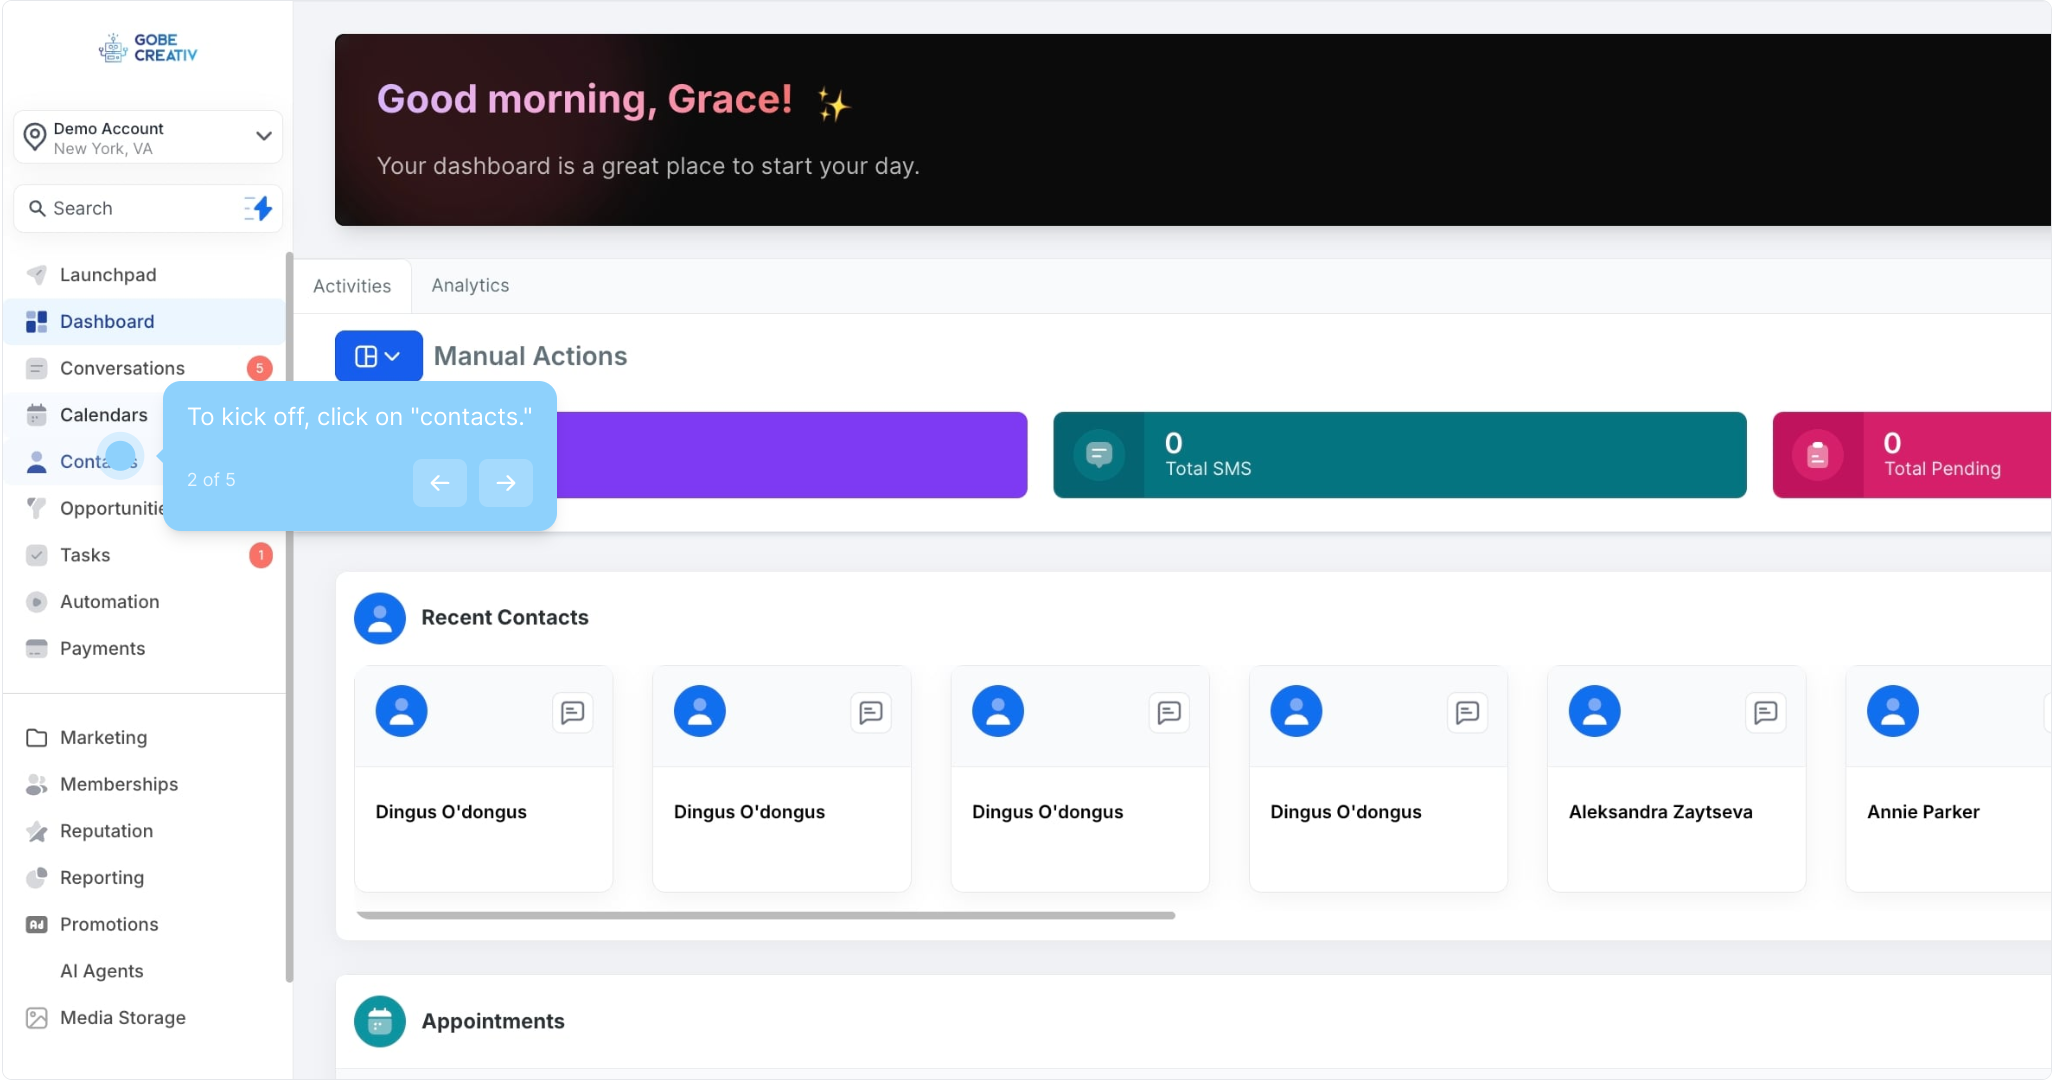
2. To kick off, click on "contacts."
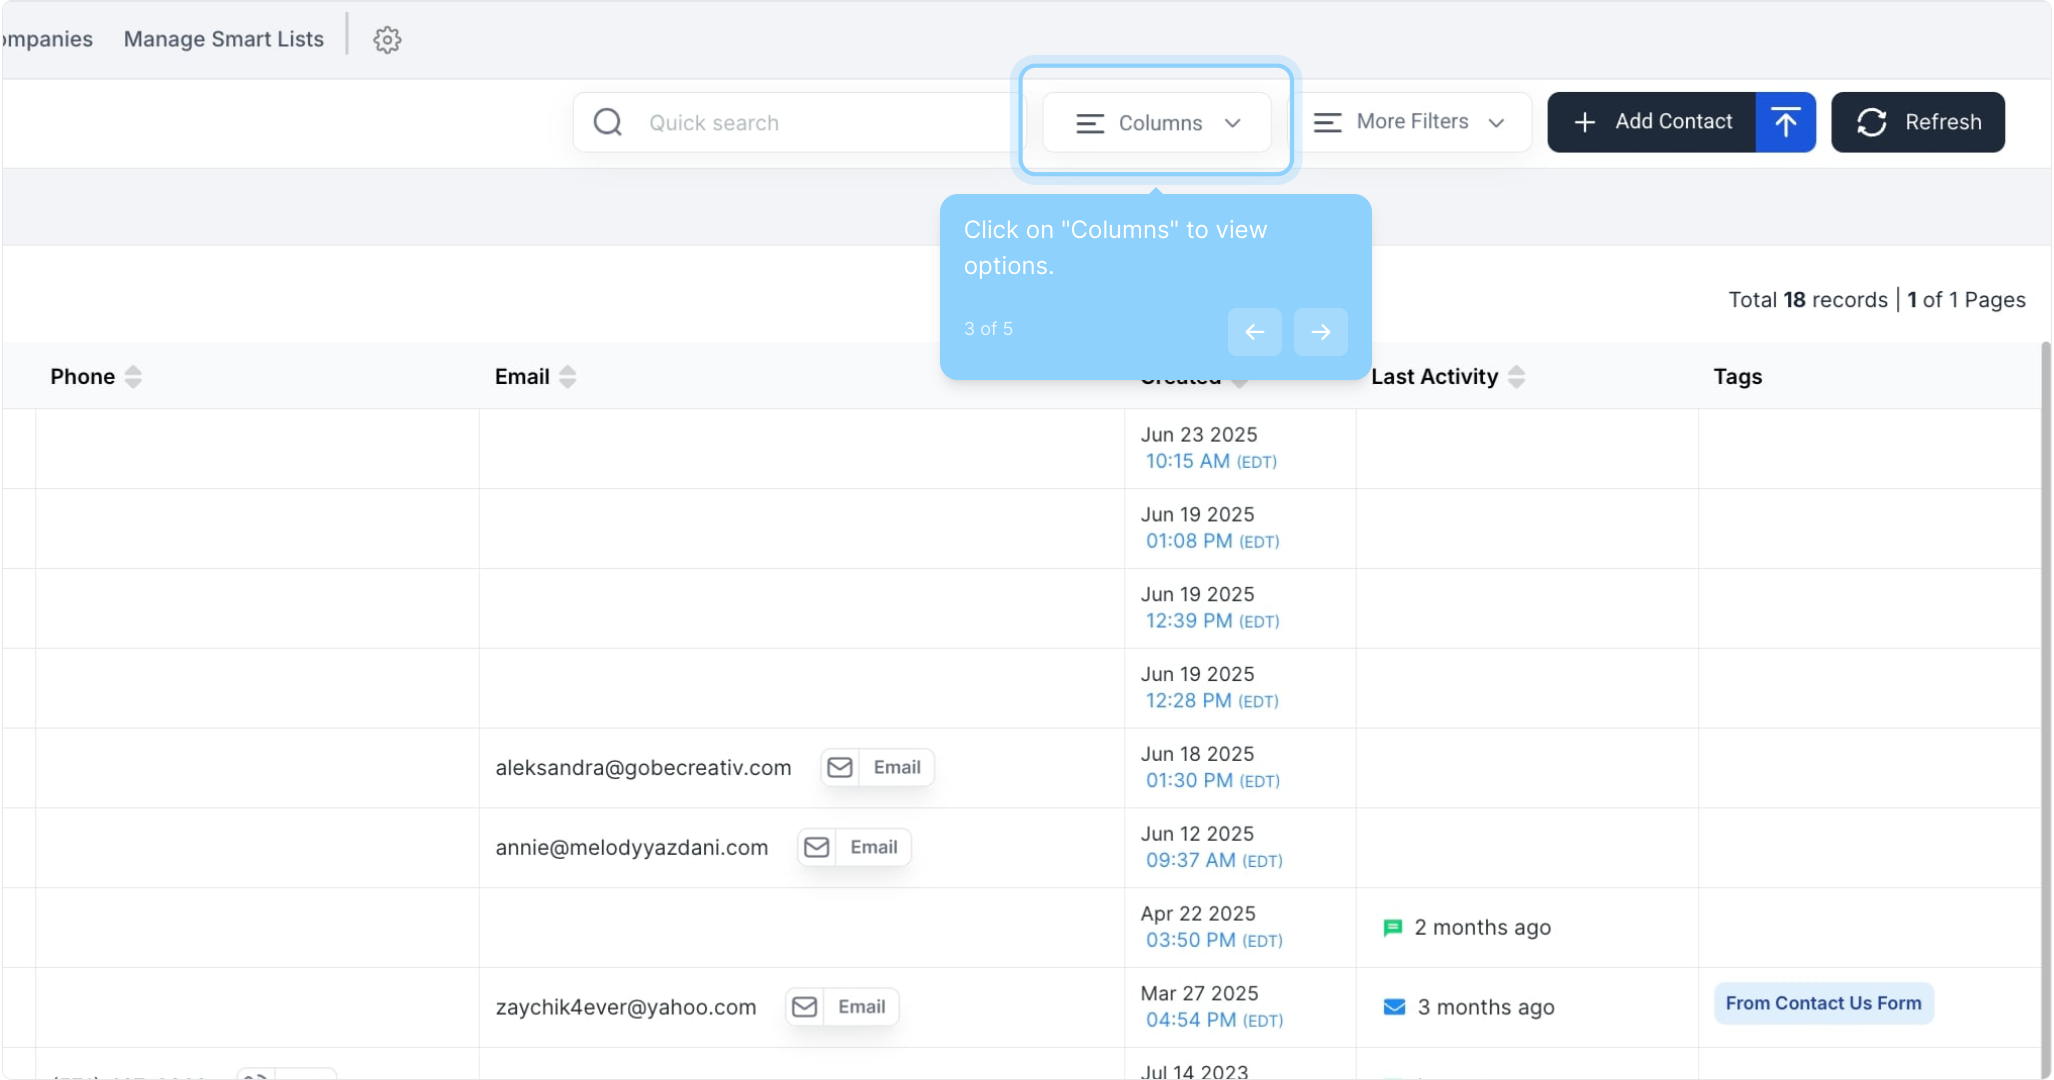
3. Click on "Columns" to view options.
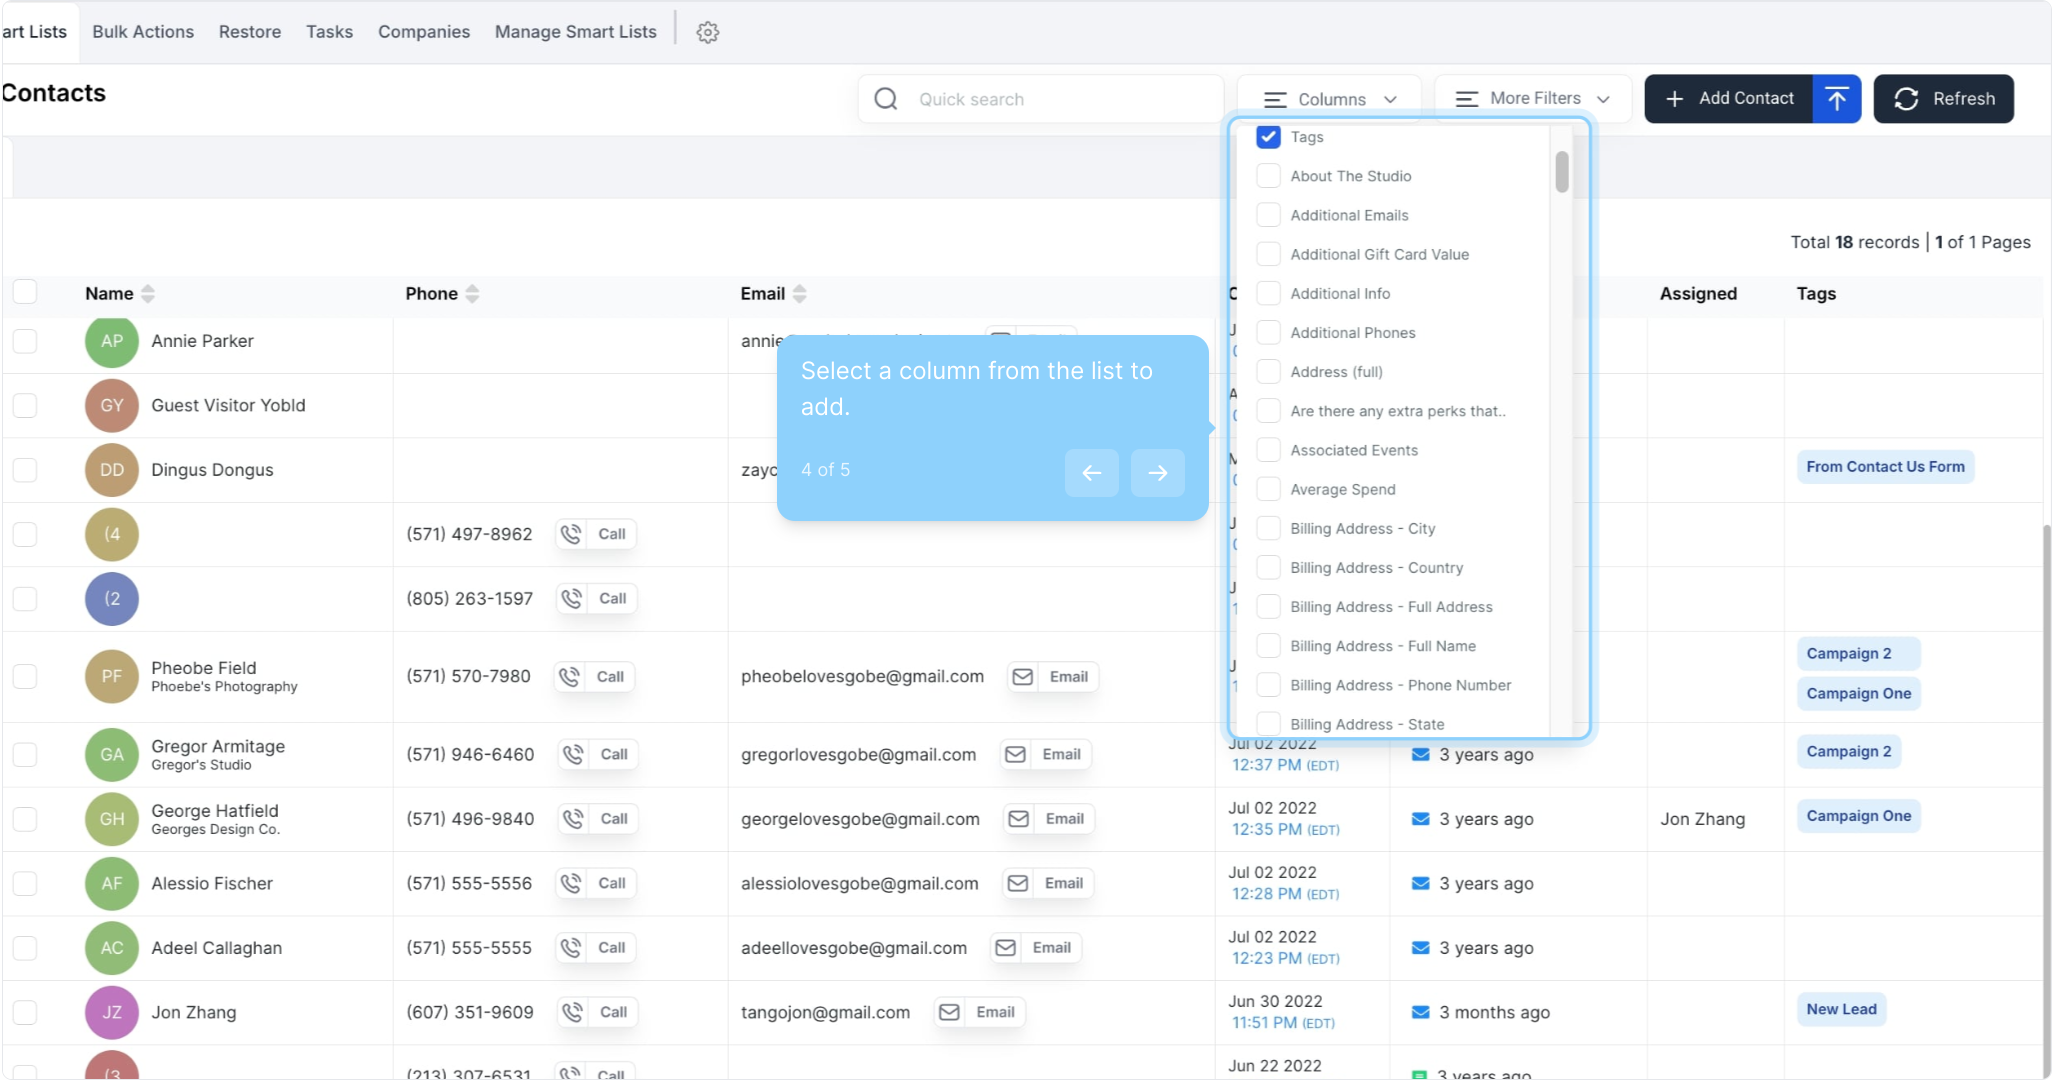
4. Select a column from the list to add.
5. The 'Assigned' column is now visible in your table, but just a heads-up—it’s only temporary. Once you refresh or leave the Contacts tab, the columns will reset to the default view. Adding columns like this is most useful when you're exporting contacts.